
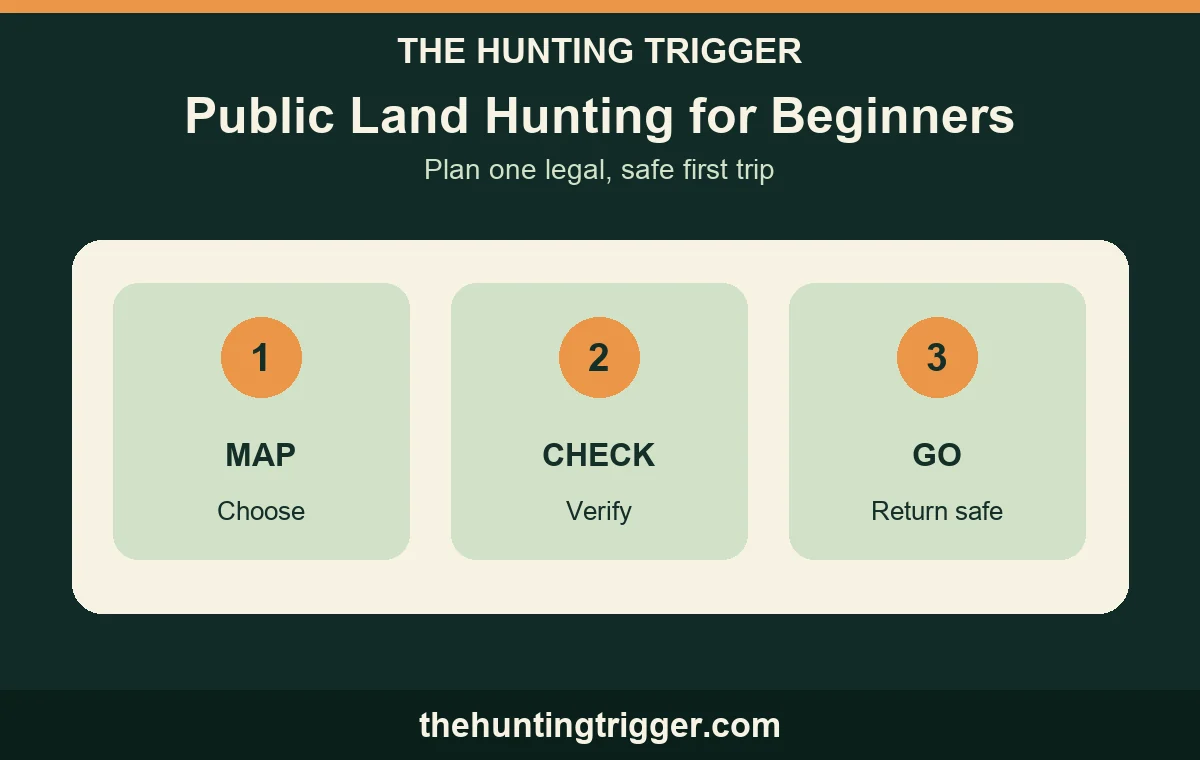
Updated September 26, 2026. Public land hunting gets easier when you treat the first trip as a planning exercise. Pick one legal unit, identify the land manager, verify the current state and area rules, map the access route, and tell someone when you will return. A first trip is successful when you come home safely with a clearer process for the next one.
Public land is not one nationwide rulebook. A BLM parcel, national forest, national wildlife refuge, and state wildlife area can have different maps, permits, seasons, and closures. Use this guide to organize the checks, then follow the current instructions for the exact unit.
| First-trip question | What to verify | Where to look |
|---|---|---|
| Who manages the ground? | BLM, Forest Service, refuge, state, or another agency | Agency unit page and office |
| Can I legally reach it? | Public access road or trail, boundary, easement, and parking | Current access map and signs |
| Can I hunt this unit? | State license, season, method, tag, permit, and registration | State rules and unit notice |
| Is the plan safe? | Weather, daylight, route out, communication, and background | Forecast, map, and trip plan |
| Who else is there? | Trails, camps, roads, livestock, and other hunters | On-site signs and a slow first walk |
Start with the land manager
Write the name of the agency before you choose a spot. BLM’s hunting page explains that its lands offer hunting opportunities, but state agencies still manage wildlife licenses and regulations. A national forest, state wildlife area, and national wildlife refuge can each add local conditions.
The U.S. Fish and Wildlife Service hunting collection links refuges and wetland-management districts that offer hunting. A refuge page may limit hunting to certain units, dates, species, or permit holders. Do not infer that a refuge is open because a nearby federal parcel is open.
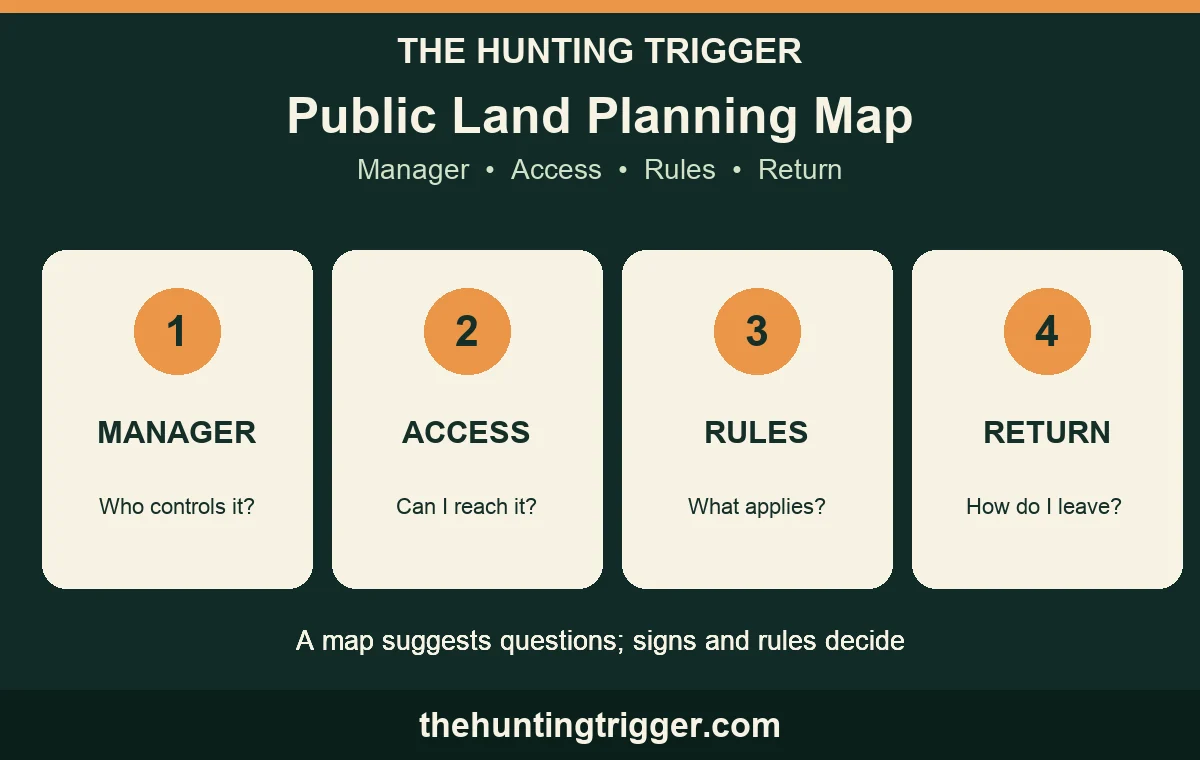
Find a legal access point, not just a colored polygon
A public-land outline on an app does not prove that every approach is open. BLM’s Public Lands Access Data is designed to show legal access routes and explains that the data is living information. It also makes a crucial distinction: mapped access across private land does not give permission to use unrelated private land.
Check the agency map, the written access description, road status, and signs at the entrance. If the route crosses private ground, use the documented easement or get permission from the owner. BLM states that private land requires permission and that crossing private land to reach public land is not permitted without it. Park only where the manager allows it and leave gates as you found them.
Read the rules for this unit and season
Make a short rules sheet for the trip: state hunting license, species and season, legal method, tag, shooting hours, hunter education, blaze-orange or other visibility rules, weapon transport, access permit, and reporting requirements. The list changes by state and place. Keep the official page or unit leaflet on your phone and download it before leaving service.
Some public-hunt systems require a second step after a state license. For example, TPWD’s current public-hunt registration page explains that designated units can require an Annual Public Hunting permit and daily on-site registration. A refuge may use a different process. Edwin B. Forsythe National Wildlife Refuge illustrates how a refuge can add a hunt permit and extra refuge rules on top of state and federal requirements.
Choose a manageable first unit
Choose one area with a clear access point, an understandable map, and a route you can finish in daylight. A smaller first unit is easier to learn than a huge parcel with several uncertain roads. Note parking, a legal entry, water, steep ground, likely other users, and two ways to return if the main route becomes unsafe.
Use a map to mark questions, not to pretend you know the ground. A satellite image can miss a locked gate, washed-out road, private inholding, or seasonal closure. Call the local field office or refuge when the written information leaves a boundary or permit question unresolved.
Scout with a purpose
Before hunting, learn where food, cover, water, trails, and human activity meet. TPWD’s beginner guide introduces habitat, sign, public-hunt maps, and mentored options. Record what you actually see with the date and weather. One track or trail does not prove an animal will be present during legal hours.
Follow the unit’s scouting rules. Some areas restrict firearms or hunting equipment during scouting, while other areas have separate scout periods. Wear suitable visibility clothing, respect posted closures, and do not walk into a hunt unit simply to get a better look at it.
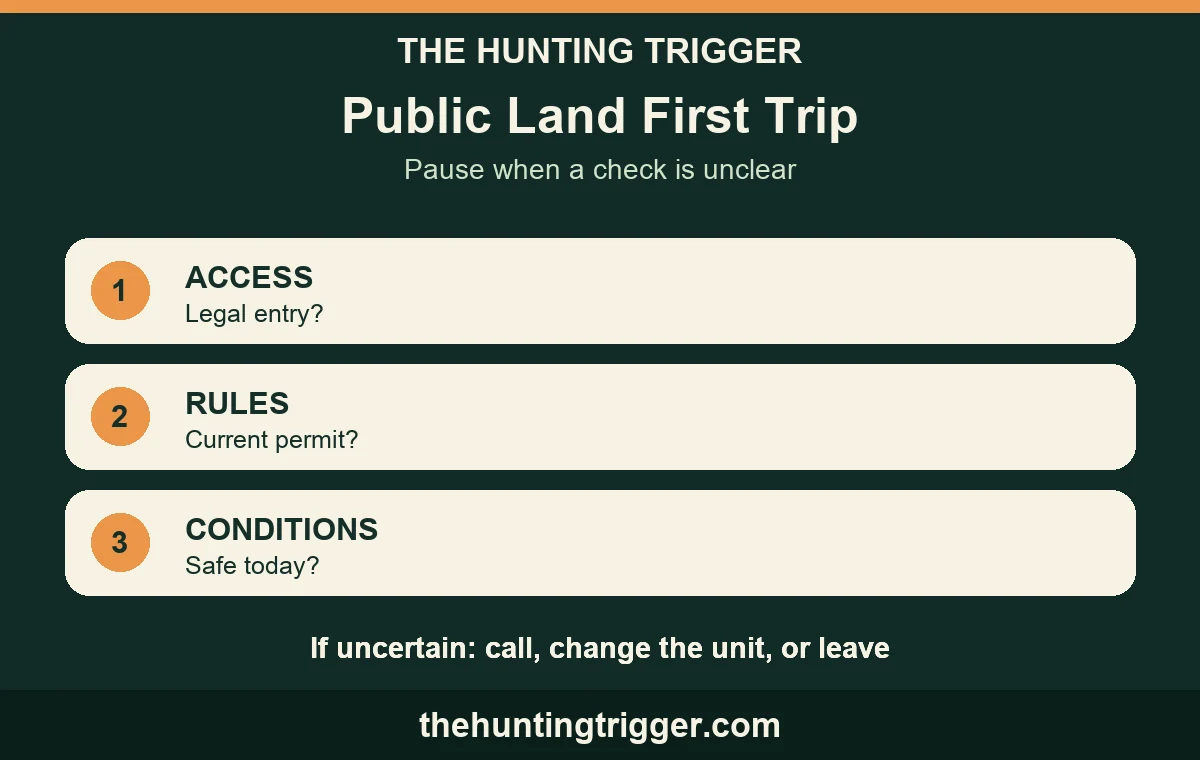
Plan for other people and other uses
Public land can include hikers, campers, livestock, roads, trail crews, birders, and other hunters. BLM advises hunters to watch for other people and know what lies beyond a target. Check the agency map for trails, campgrounds, and roads. Choose a safe direction and background before handling a firearm.
Keep a respectful distance, obey closures, close gates, and pack out what you bring. Do not claim a public spot as private property. If another hunter is already using an area, communicate calmly and choose a different legal location when possible. A clear orange requirement or sign is a reason to follow the rule, not a reason to argue about it.
Build a simple first-trip safety plan
Before leaving, write the unit, parking point, route, vehicle description, companions, and expected return time. Leave it with someone who will act if you miss the check-in. Carry a map, light, water, communication device, basic first-aid supplies, and a way to signal for help. BLM’s public-land safety guidance also recommends preparing for changing weather, checking equipment, and knowing what lies beyond the target.
Check the forecast for the actual area and bring layers. If a storm, fire restriction, road closure, or unsafe visibility changes the conditions, change the plan or leave. Your route out matters as much as your route in.
A repeatable first-hunt sequence
- Choose the unit. Name the manager and save the current map, rules, permit page, and office contact.
- Verify access. Confirm the legal entry, parking, boundary, easement, and any gate or road condition.
- Check eligibility. Confirm license, season, method, tag, permit, registration, and required clothing.
- Scout and mark questions. Observe habitat, sign, trails, and people from lawful areas. Do not assume a map answers an on-site question.
- Share the plan. Leave your route and return time with a responsible person and carry navigation and emergency gear.
- Recheck before any shot. Positively identify the target and the foreground, background, people, and legal conditions. If any part is uncertain, do not shoot.
The Hunting Safety Checklist can be your pre-departure companion. Public land rewards patience and good records. Learn one area at a time, follow the current rules, and let a safe return set the standard for the next trip.

Leave a Reply