
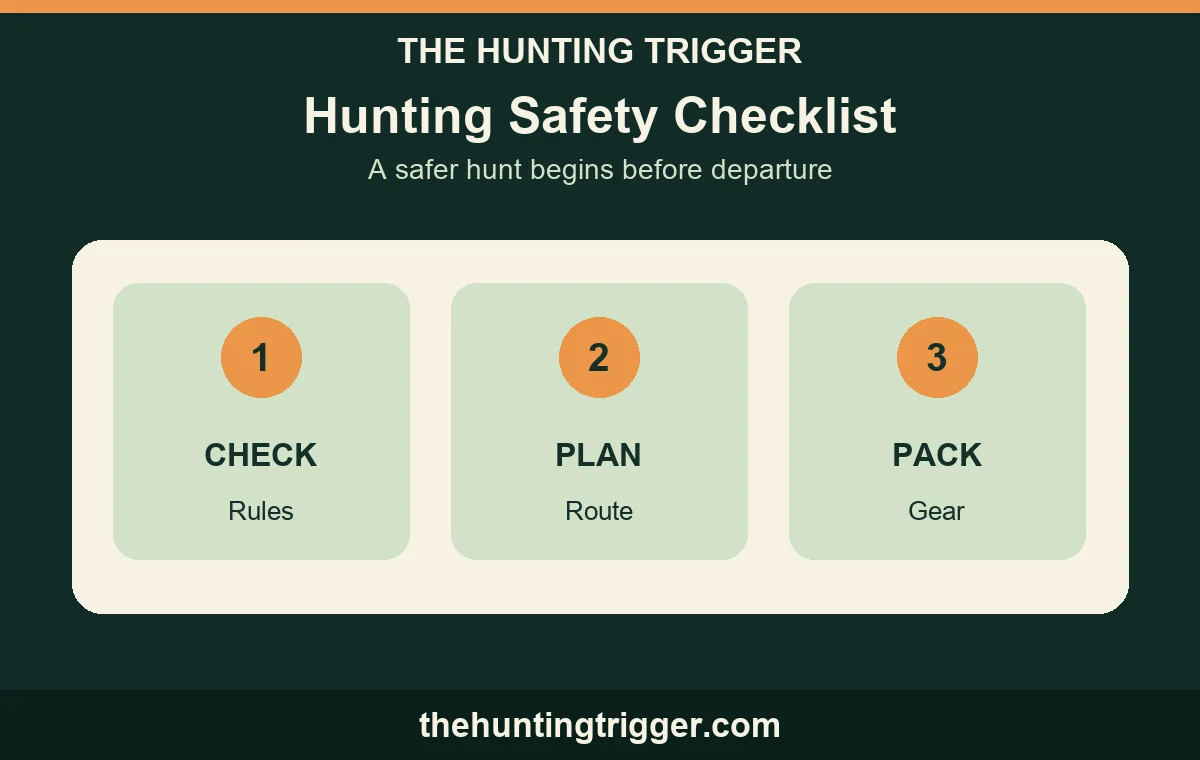
Updated September 25, 2026. A useful hunting safety checklist starts before the truck moves: confirm the current rules for the exact place and species, check weather, tell someone where you will go, and inspect the equipment you will use. At the trailhead, check access and conditions again. If a rule, route, target, or safe return is uncertain, stop and resolve it before continuing.
This is a general preparation aid, not a substitute for hunter education, a firearm manual, or your state and land manager’s current regulations. Save the list below and adapt it to the method, terrain, season, and people on your hunt.
| When | Check | Stop or change the plan if… |
|---|---|---|
| Before departure | License, season, area access, required permits and visible clothing | A current rule or boundary is unclear |
| Before departure | Weather, daylight, route, return time, contact person | Lightning, dangerous conditions, or no safe return plan |
| Before departure | Unloaded/cased transport, equipment, stand and harness if used | Any equipment is damaged or cannot be used safely |
| At the trailhead | Signs, closures, map, companions, communication | On-site conditions differ from the plan |
| Before any shot | Positive target, foreground, background, people, and safe direction | Any part cannot be verified |
1. Confirm the rules for this hunt
Check the season, species, legal method, license and tag requirements, hunter education, shooting hours, and any local permit or access conditions for the precise location. The U.S. Fish and Wildlife Service’s state license directory points to the agencies that set state-specific requirements. Managed land can add its own closures or permits, so review the land manager’s current notice too.
Include hunter-orange or other visibility requirements in that check. For example, Texas publishes a specific public-land blaze-orange rule with exceptions; that is a Texas rule, not a national formula. Wearing high-visibility clothing where appropriate also makes it easier for other people to see you, even where it is not required.
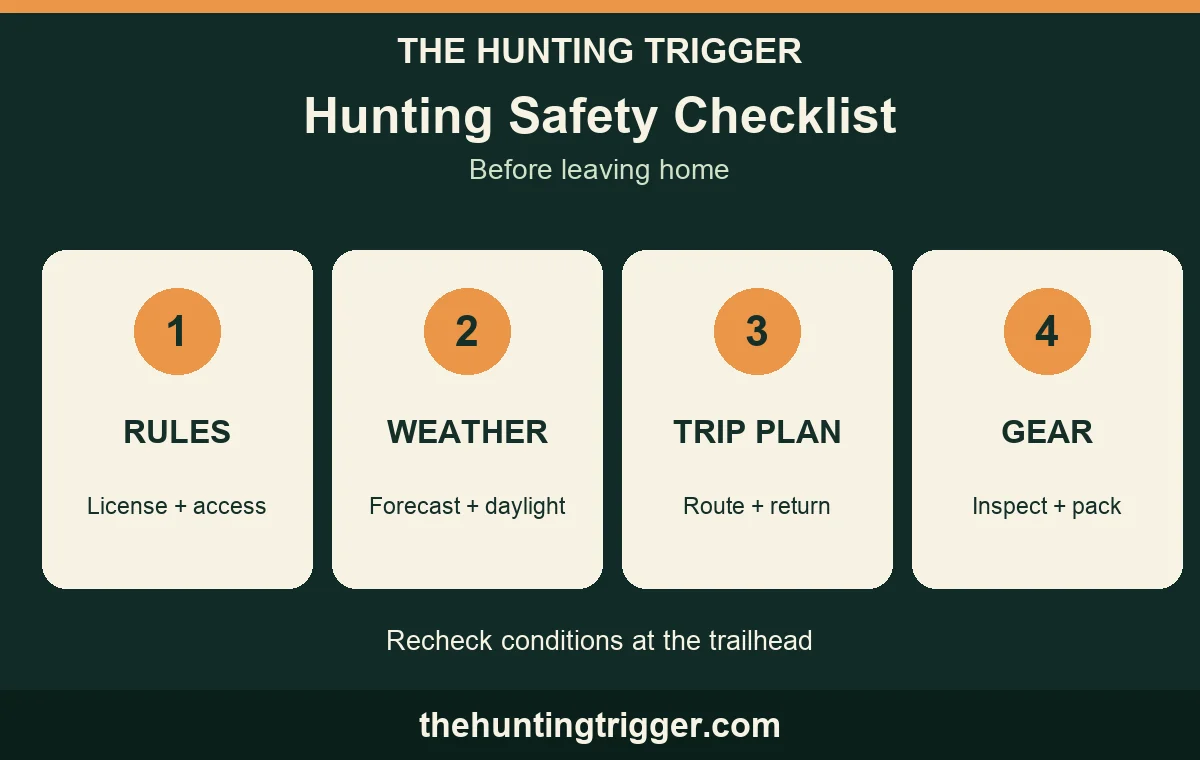
2. Check weather and make a return plan
Look at the forecast for the hunting area and the hours you expect to be outside, then reassess at the trailhead. The National Weather Service says no outdoor location is safe during a thunderstorm. If thunderstorms threaten, postpone or move to a substantial building or hard-topped vehicle; a tree stand or open shelter is not protection.
Write down the party, location, entry point, vehicle, emergency contacts, and expected return time. Leave the plan with someone who will notice if you do not check in. This follows Texas Parks and Wildlife’s hunting-plan guidance. Download or carry an area map, understand the route out, and allow extra time for the return before dark.
3. Inspect essential gear and prepare for trouble
Inspect clothing, boots, light, navigation, communication, water, and first-aid supplies. Choose the kit for the distance, weather, and terrain rather than carrying a generic list without knowing how to use it. TPWD’s survival-kit lesson includes a map or GPS, spare power, signaling tools, light, water, shelter, and a first-aid kit.
Check that a phone or other communication device has power, but do not assume service in remote ground. If hunting with others, agree on meeting points and who will contact help. Formal first-aid and CPR training are valuable because a kit alone does not teach emergency care, as TPWD notes.
4. Transport and handle equipment safely
Follow the firearm or bow manufacturer’s instructions and the transport law where you travel. TPWD’s hunter-education transport lesson teaches unloading and casing firearms for travel and keeping ammunition separate. Before handling a firearm, keep its muzzle in a safe direction and your finger outside the trigger guard, as its hunting safety lesson emphasizes.
For a group hunt, agree on locations and safe directions before separating. Never treat a sound, movement, or a flash of color as a target. Use binoculars to identify a distant subject; never point a firearm scope at something merely to find out what it is.
5. Add an elevated-stand check if you will climb
An elevated stand adds a fall hazard. Inspect the stand and fall-arrest equipment, follow the manufacturer’s instructions, and use a properly fitted full-body system while climbing, descending, and occupying the stand. TPWD’s elevated-stand guidance also says to unload a firearm before climbing and hoist equipment only after you are safely positioned.
If the stand, straps, ladder, tree, or fall-arrest system cannot be checked and used correctly, do not climb. A ground-level plan is better than improvising around damaged equipment. This site’s hunting fieldcraft guide helps with observation and route planning, but the elevated-stand safety check is separate.
6. Recheck at the trailhead and before any shot
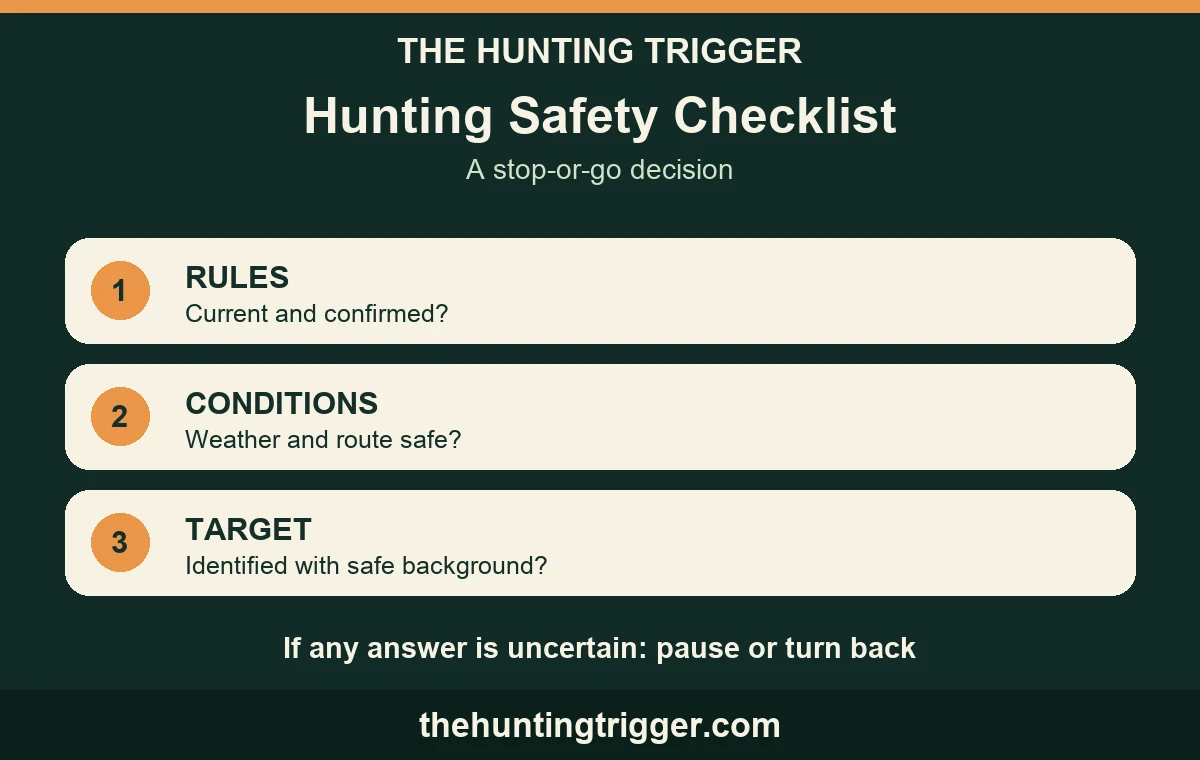
On arrival, compare the map with signs and current closures. Confirm the parking and entry point, your return route, weather, and where other hunters may be. Tell the person holding your plan if your route or return time changes and communication is possible.
Before any shot, positively identify the animal and check what is in front of and beyond it. Keep the muzzle in a safe direction and your finger off the trigger until ready to shoot. These are core points of TPWD’s hunting safety guidance. If visibility, people, terrain, or background prevent a confident decision, do not shoot.
A short final check at the door
Say these five questions aloud: Are the rules confirmed? Is the weather safe? Does someone have my route and return time? Is my equipment sound and transported correctly? Do I have a clear reason to turn back? Repeat the relevant checks when conditions change. The goal is a safe return, not completing a plan at any cost.

Leave a Reply