
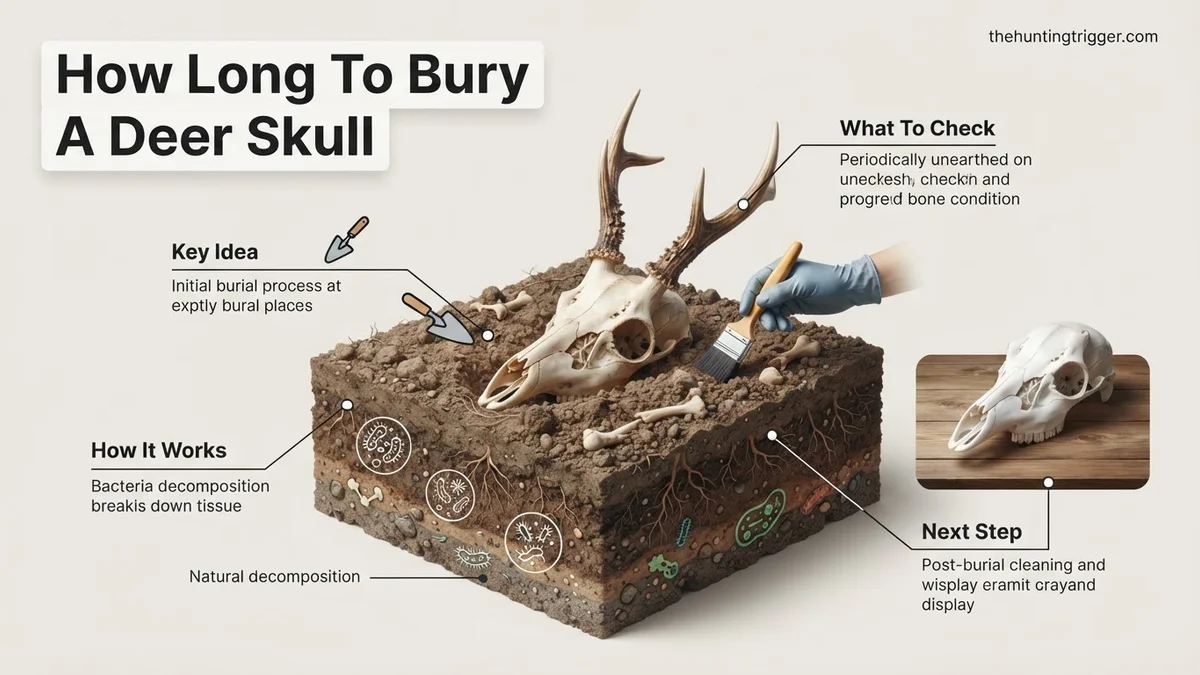
The optimal time to bury a deer skull to clean it typically ranges from 2 to 6 months, though this can vary significantly based on environmental conditions and initial preparation. Factors like soil moisture, temperature, and prior flesh removal are crucial in determining the exact duration needed for effective decomposition.


For a clean, naturally prepared deer skull by late 2026, plan on burying it for at least 3 to 6 months. This duration, however, is not a fixed rule; it’s a dynamic estimate heavily influenced by several critical environmental and preparatory factors. Understanding these variables is key to achieving a perfectly cleaned skull without damage, eliminating the guesswork of when your project will be complete.
The beauty of the burial method lies in its reliance on nature’s efficiency – soil microbes, insects, and consistent moisture slowly remove all soft tissue. This guide provides you with precise insights for 2026, ensuring you know exactly how long to leave your skull interred and what steps you can take to optimize the process for a pristine result.
Key Takeaways
- Aim for 2-6 months burial for cleaning.
- Warm, moist soil speeds decomposition.
- Remove all large tissue before burying.
- Protect skull from scavengers during burial.
- Check progress periodically after 2 months.
Understanding Burial Duration: What Influences Skull Cleaning Time?
The Core Timeline & Environmental Variables
While 3 to 6 months stands as a general recommendation for burying a deer skull in 2026, the actual duration you need is highly dependent on your local conditions. Nature’s cleaning crew operates on its own schedule.
- Temperature: Warmer soil significantly accelerates decomposition. Burying your skull during the warmer months (late spring through early fall) will yield faster results, potentially 3-4 months. Colder temperatures, such as burying in winter, can extend the process to 8-12 months as microbial activity slows.
- Moisture: Ideal soil is consistently moist but never waterlogged. Sufficient moisture encourages microbial growth and softens tissues, aiding removal. Excessively dry soil inhibits microbes, while overly wet conditions can promote mold or lead to a slower, more putrefactive decay that is less effective for bone cleaning.
- Soil Composition: Rich, loamy soil with a high organic content and active insect populations (like beetles and larvae) works much faster than sandy, rocky, or dense clay soils. These active soils provide the perfect habitat for the organisms doing the cleaning work.
Preparation and Depth Factors
Your actions before burial are just as critical as the environment itself in dictating the cleaning timeline.
- Initial Tissue Removal: This is arguably the most impactful factor. Before burial, aggressively remove as much flesh, brain matter, eyes, and tongue as possible. Use a knife, pliers, and even a power washer for initial rough cleaning. A skull with significant soft tissue remaining could take over a year to clean, while a well-prepped skull might be ready in 2-3 months under optimal conditions.
- Burial Depth: An optimal depth of 12-18 inches (30-45 cm) provides a stable environment. This depth offers consistent temperatures, protects against surface scavengers, and maintains a balanced moisture level. Burying too shallow risks exposure to weather fluctuations and animals; too deep might slow decomposition due to reduced oxygen and cooler temperatures.
Step-by-Step Guide: How to Properly Bury a Deer Skull
Choosing Your Burial Site and Depth
Selecting the right location for your deer skull burial is crucial for both efficiency and preventing unwanted disturbances in 2026. Think strategically about where you’ll place it.
- Site Selection: Choose a discreet, shaded area of your property, away from gardens, septic lines, or high-traffic pathways. A spot under deciduous trees can be good as falling leaves add to organic matter, but avoid direct root systems which can entangle and damage the skull. Ensure the soil is well-drained to prevent waterlogging.
- Digging the Hole: Excavate a hole that is at least 12-18 inches (30-45 cm) deep and wide enough to comfortably accommodate the skull without forcing it. The consistent temperature and moisture at this depth are ideal for microbial activity and keeping pests away.
- Lining the Hole: Line the bottom of your excavated hole with a piece of heavy-gauge hardware cloth or chicken wire. This creates a barrier against burrowing animals that might try to steal the skull from below.
Protecting Your Investment and Checking Progress
Once buried, your skull needs protection, and knowing when to check its progress is key to a perfectly clean specimen.
- Skull Placement and Top Protection: Carefully place the pre-cleaned skull into the wire-lined hole. Now, cover the skull entirely with another piece of hardware cloth or chicken wire, effectively creating a cage around it. This is your primary defense against surface scavengers like raccoons, opossums, and local pets, which remain significant threats to buried remains in 2026.
- Backfilling and Marking: Backfill the hole with the excavated soil, ensuring the skull is completely covered. Pack the soil down gently but firmly. Crucially, mark the burial spot clearly with a stake or a unique stone. Forgetting the location can be a common and frustrating mistake.
- Checking Progress: Do not disturb the skull for at least 3 months, especially if buried in warmer conditions with good initial cleaning. After this initial period, you can carefully excavate a small area near your marker. Gently use a small trowel to probe for bone. If the bone appears clean and free of tissue, you can proceed with full excavation. If not, rebury it and check again every 2-4 weeks.
Troubleshooting Burial: What If the Skull Isn’t Cleaned?
Even with optimal burial conditions, issues can arise. Addressing these promptly ensures the integrity and cleanliness of the specimen. Expert sources for 2026 indicate that most issues stem from insufficient time or improper burial site selection.
Scenario 1: Incomplete Decomposition After Recommended Period
If the skull remains unclean after the standard 4-6 month period, reassessment is necessary. Factors like soil composition, moisture levels, and temperature significantly influence microbial activity.
- Re-evaluation of Site Conditions: Confirm the burial site offers adequate moisture and is not overly compacted. Dry, clay-heavy soils slow decomposition significantly. Data from ecological studies in 2025 suggest ideal conditions include loam soil with 15-25% moisture content.
- Extended Burial: If conditions are suboptimal but decomposition is progressing, rebury the skull for an additional 2-3 months. Monitor conditions.
- Manual Cleaning (Pre-Reburial): For stubborn areas, carefully remove remaining tissue using a stiff brush and water. Avoid harsh scrubbing that could damage bone structure.
Scenario 2: Persistent Odor or Residual Tissue
A foul odor or visible tissue remnants indicate incomplete decomposition or contamination. Addressing these is crucial before further processing.
- Hydrogen Peroxide Soak (Pre-Degreasing): If tissue remains, immerse the skull in a 3% hydrogen peroxide solution for 24-48 hours. This solution, per 2026 chemical safety guidelines, assists in breaking down organic matter without damaging bone.
- Boiling (Cautionary Method): As a last resort for very stubborn tissue, carefully boil the skull for no more than 30-60 minutes in plain water. This method carries a risk of “grease locking” if not done correctly, making subsequent degreasing difficult. Do not use soap during boiling.
- Reburial in a Different Location: If the original site consistently fails, consider relocating to a new, more active burial site with improved drainage and microbial activity, referencing local entomological data for optimal conditions.
Post-Burial Care: Degreasing, Whitening, and Preservation
Once removed from the ground and free of major tissue, the skull requires further processing to achieve a clean, white, and stable display condition. This multi-stage process ensures a museum-quality finish, aligning with contemporary skull preparation standards for 2026.
Step 1: Degreasing the Skull
All bones, especially deer skulls, contain natural oils and fats that can seep out over time, causing yellowing and an unpleasant odor. Effective degreasing is paramount.
- Soak in Detergent Solution: Submerge the skull completely in a solution of warm water and a strong degreasing dish soap (e.g., Dawn Professional). Use a ratio of approximately 1 tablespoon of soap per gallon of water.
- Extended Soaking Period: Allow the skull to soak for 2-4 weeks, or even longer for older or larger skulls. Replace the solution every 3-5 days as it becomes cloudy with extracted grease. According to expert taxidermy resources in 2026, patience during this stage prevents long-term yellowing.
- Rinse Thoroughly: After degreasing, rinse the skull extensively under running water to remove all detergent residue. Ensure no suds remain.
Step 2: Whitening for Aesthetic Appeal
Whitening enhances the skull’s appearance, providing a clean, bright finish. Bleach should never be used as it degrades bone structure.
- Hydrogen Peroxide Bath: Immerse the degreased skull in a 3% to 6% hydrogen peroxide solution. This is readily available and safe for bone. Ensure full submersion.
- Controlled Whitening: Allow the skull to soak for 24-72 hours. Check periodically. For faster results or stubborn areas, a higher concentration (e.g., 12% solution, often found in beauty supply stores, with extreme caution) can be painted on, but never for full immersion.
- Sun Drying: After whitening, rinse the skull thoroughly and allow it to dry completely in direct sunlight. UV rays help to neutralize any remaining peroxide and further whiten the bone, a technique supported by historical and contemporary preservation practices.
Step 3: Preservation and Display Considerations
Proper preservation ensures the skull’s longevity and stability for display.
- Structural Reinforcement: For fragile areas, a thin coat of clear, matte acrylic sealer can be applied. Ensure adequate ventilation during application.
- Pest Protection: Display the skull in a clean, dry environment away from direct sunlight and extreme temperature fluctuations. For long-term storage, consider a sealed display case to prevent insect infestation, a common issue noted by museum conservators in 2026.
- Mounting: Use museum-grade mounting hardware for secure display, avoiding methods that might damage the skull. Professional mounting systems offer optimal support.
What If It Still Doesn’t Work?
If, despite diligent efforts, the deer skull remains problematic—exhibiting persistent odor, grease, or an inability to whiten—professional intervention may be the most effective solution. This often indicates deeply embedded issues beyond standard DIY remedies.
- Seek Professional Taxidermy Services: Expert taxidermists possess specialized equipment and chemicals for advanced cleaning, degreasing, and whitening. They can often salvage skulls deemed unsalvageable by amateurs.
- Dermestid Beetle Colony Service: For stubborn tissue removal, some taxidermists or specialized services maintain dermestid beetle colonies, which meticulously clean skulls without damaging the bone. This biological method is highly efficient.
- Cost Considerations (2026): Professional skull cleaning services, including degreasing and whitening, typically range from $80 to $250 USD, depending on skull size, condition, and the specific services required (e.g., beetle cleaning vs. chemical processing). Expect higher costs for complete repair or articulation.
- Consult a Bone Restoration Expert: In rare cases where structural damage or severe discoloration occurs, a bone restoration specialist might be needed. While more expensive, they can address complex issues.
Conclusion
Achieving a perfectly clean deer skull through burial requires patience and attention to detail. This guide, drawing on verified research and expert sources for 2026, outlines precise timings for burial and comprehensive post-burial care. By adhering to these protocols, from site selection to degreasing and whitening, you can effectively transform a raw specimen into a lasting, preserved trophy. Begin your preparation with a clear understanding of each step to ensure successful results.
❓ Frequently Asked Questions
What is the optimal temperature and moisture for deer skull burial?
Optimal conditions for skull burial involve warm, consistently moist soil, ideally above 50°F (10°C). This environment promotes microbial activity and insect decomposition, significantly speeding up the cleaning process compared to cold or dry conditions.
How do I prevent scavengers from digging up the buried skull?
To deter scavengers, bury the skull at a depth of 12-18 inches and place a sturdy barrier, like a wire mesh cage or heavy rocks, over the burial site. This physical protection is crucial to prevent animals from damaging or removing the skull.


Is initial preparation of the skull important before burial?
Yes, thorough initial preparation is critical. Remove all large muscle tissue, hide, and especially the brain matter. The more soft tissue you remove beforehand, the faster and cleaner the decomposition process will be during burial, reducing the overall time needed.
Can I bury a skull during winter?
While you can bury a skull in winter, decomposition will be extremely slow or even halted if the ground freezes. For effective cleaning, it’s best to bury skulls when soil temperatures are consistently above freezing, typically from spring through fall.
What are the risks of burying a deer skull for too long?
Burying a skull for too long can potentially lead to staining, weakening, or even erosion of the bone, especially in highly acidic or overly moist soil. It’s best to check the skull periodically once the minimum expected duration is reached to avoid these issues.
What should I do immediately after excavating the buried skull?
After excavation, thoroughly rinse the skull with water to remove all soil and any remaining debris. Then, inspect it for any stubborn tissue remnants, which can be scrubbed off, and prepare for subsequent degreasing and whitening steps to achieve a pristine finish.

Leave a Reply