
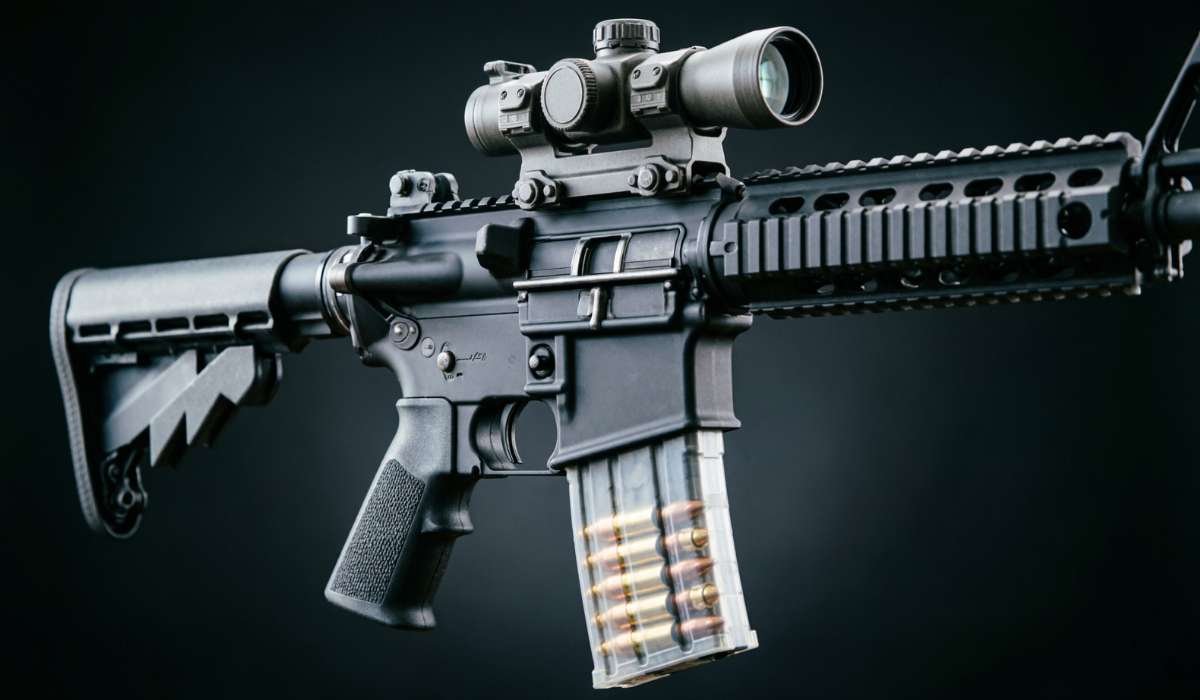
Mounting a scope on an AR-15 is a task that many shooters approach with a mix of excitement and uncertainty. The right optic can transform your shooting experience, improving accuracy, speed, and confidence whether you’re hunting, competing, or just enjoying time at the range.
But mounting it incorrectly can lead to missed shots and even damage to your equipment. With so many types of scopes, mounts, and rail systems, the process can feel confusing—especially if you’re new to the AR-15 platform. Fortunately, mounting a scope is a skill anyone can learn with patience and the right guidance.
Let’s walk through the process step by step, so your AR-15 is ready for precise, reliable shooting.
Table of Contents
Why Mounting Your Scope Properly Matters?
Many shooters underestimate the importance of a well-mounted scope. A loose or misaligned optic causes poor accuracy, inconsistent zero, and even damage to your rifle or optic. When the scope is not properly attached, every shot can shift the optic slightly, leading to frustration and wasted ammunition.
Proper mounting ensures your scope holds zero, meaning your point of impact stays the same after every shot. It also prevents damage from recoil, keeps your scope secure, and helps you shoot more comfortably and accurately. Taking time to do it right is an investment in your shooting success.
Key Tools And Materials Needed
Before starting, gather these essentials. Having the right tools not only makes the job easier but also helps avoid common mistakes.
- Torque wrench (inch-pounds, not foot-pounds)
- Bubble level or specialized scope leveling tool
- Gun vise or sturdy rest
- Allen wrenches or Torx drivers (depending on your rings/mount)
- Thread locker (like Loctite Blue 242)
- Lint-free cloth
- Degreaser (isopropyl alcohol works well)
Some AR-15 scope mounts require unique tools, so check your mount’s instructions before you begin.
Understanding AR-15 Rail Systems And Scope Mounts
The AR-15 typically uses a Picatinny rail (MIL-STD-1913), but some older or budget models may use a Weaver rail. These look similar, but Picatinny rails have wider, more consistent slots for better compatibility.
Types Of Scope Mounts
You’ll find three main categories:
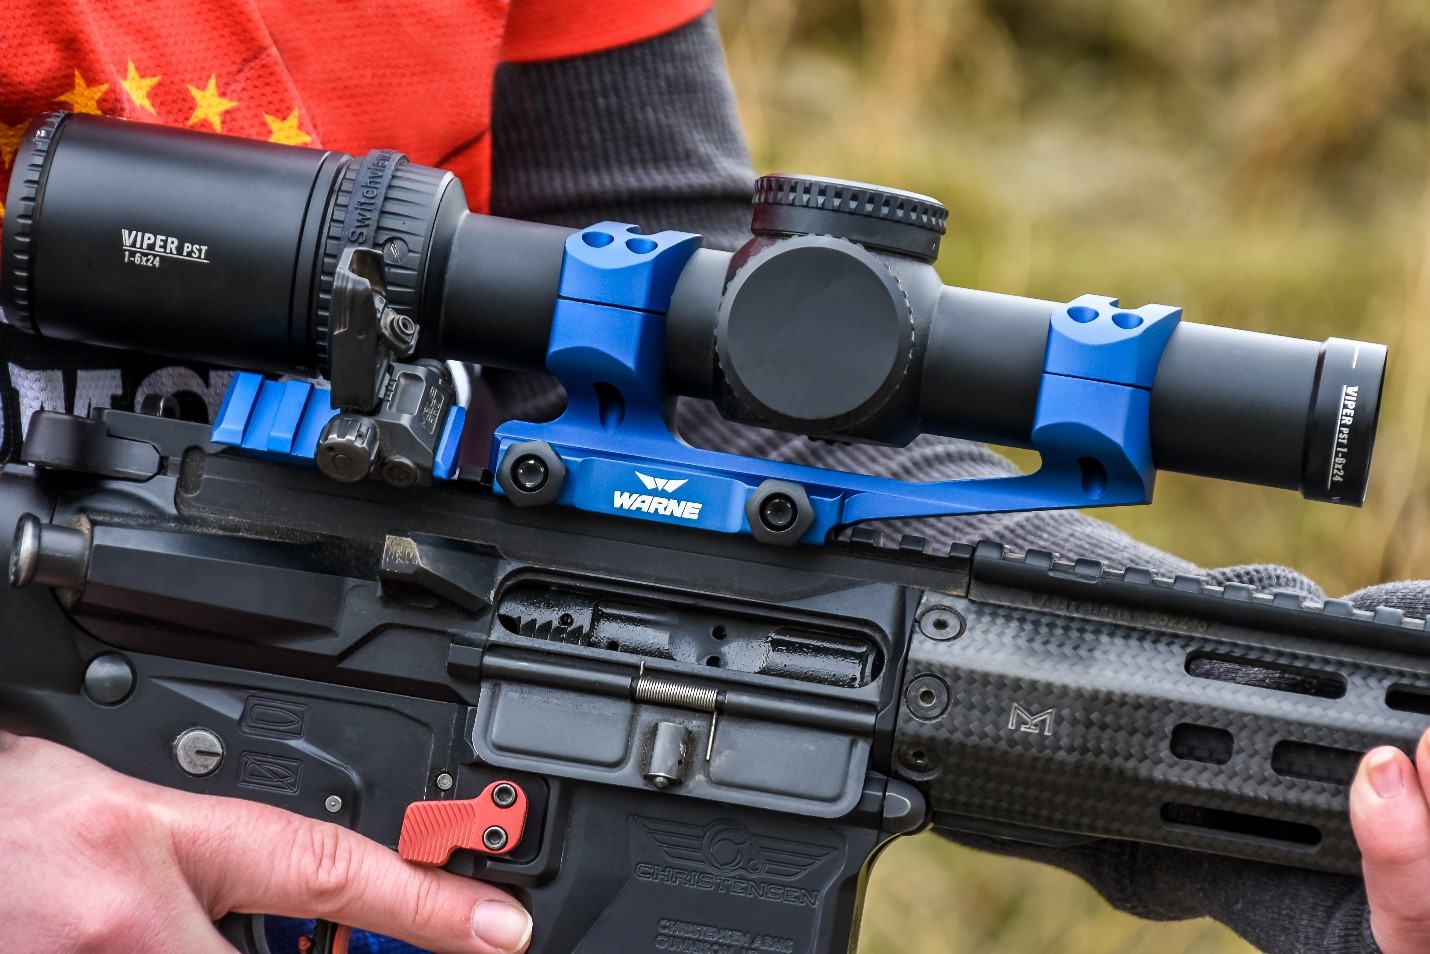
- One-piece mounts: Combine both rings into a single unit. These are popular for AR-15s because they’re strong, easy to install, and often provide the right height for optics.
- Two-piece rings: Offer flexibility but require careful alignment.
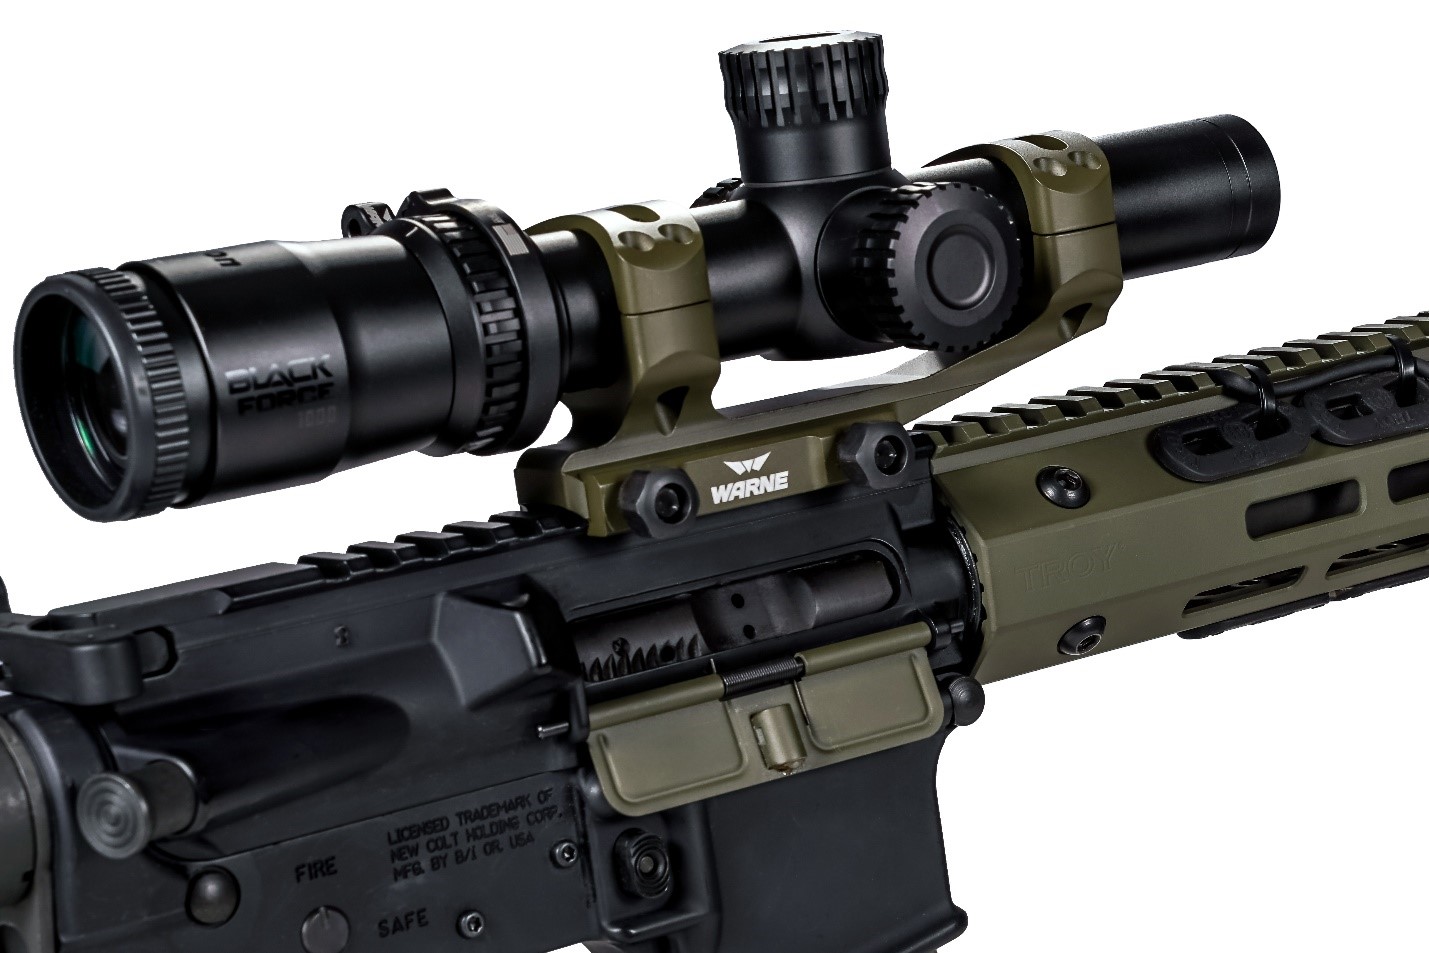
- Cantilever mounts: Extend the scope forward, helpful for eye relief on AR-15s with shorter stocks.
Here’s a quick comparison:
| Mount Type | Strength | Ease of Installation | Best Use Case |
|---|---|---|---|
| One-piece | High | Easy | General AR-15 use |
| Two-piece rings | Medium | Moderate | Traditional rifles, flexibility |
| Cantilever | High | Easy | AR-15s needing extra eye relief |
For most AR-15 owners, a one-piece cantilever mount is the easiest and most reliable choice.
Steps To Mount A Scope On Your AR-15
Follow these steps carefully for the best results.
1. Prepare Your Workspace
Place your unloaded AR-15 in a secure gun vise or rest. Clear your workspace of clutter. Good lighting helps, and keeping parts organized prevents frustration.
2. Clean All Mounting Surfaces
Use a lint-free cloth and degreaser to wipe down the rail, rings, and scope tube. This removes oil and debris that could cause slipping. Many shooters skip this, but a clean surface is critical for a solid mount.
3. Attach The Mount To The Rail
Place the mount (or bottom halves of the rings) onto the Picatinny rail. Align it with the rail slots so it sits flat and level. Most AR-15 shooters position the mount so the rear ring is just forward of the charging handle, which helps with proper eye relief.
Tighten the mount’s cross-bolts using the torque wrench. Most mounts specify 30-65 inch-pounds—never over-tighten, as this can damage the mount or rail. Apply a small amount of thread locker to each bolt for extra security.
4. Position The Scope For Eye Relief
Place the scope into the rings. Adjust it forward and backward until you achieve a full, clear sight picture when in your normal shooting position. For most AR-15s, this means moving the scope slightly forward compared to bolt-action rifles.
Pro tip: Check eye relief with your head in a natural position, not craned forward. This helps you shoot comfortably and maintain a proper cheek weld.
5. Level The Scope
Leveling your scope is one step many beginners rush, but even a small tilt can throw off your accuracy at distance.
- Place a bubble level or scope leveling tool on the rifle’s rail.
- Adjust until the rifle is perfectly level.
- Place another level on the flat top of the scope’s turret.
- Rotate the scope until both levels match.
Take your time with this step. A canted reticle can make tracking and holdover difficult.
6. Secure The Rings
Place the top halves of the rings and loosely tighten the screws. Gradually tighten each screw in an X-pattern (diagonal), a little at a time. This keeps even pressure on the scope tube and prevents pinching or shifting.
Use your torque wrench to tighten each screw to the manufacturer’s recommended value, often between 15-20 inch-pounds. Too tight, and you risk crushing the scope tube; too loose, and the scope can slip.
Here’s a quick reference for torque values:
| Component | Recommended Torque (in-lbs) |
|---|---|
| Ring screws | 15-20 |
| Base/mount bolts | 30-65 |
7. Double-check Alignment
Before finishing, look through the scope and confirm:
- The reticle is perfectly level
- Eye relief is correct
- The scope does not move
If anything looks off, loosen the screws slightly and adjust as needed. It’s better to spend a few more minutes now than regret it at the range.
8. Let Thread Locker Cure
If you used thread locker, let the rifle sit for several hours (or as recommended on the product label) before shooting. This ensures everything stays in place.
How to Mount a Scope on an AR-15 With a Front Sight?
Mounting a scope on an AR-15 with a fixed front sight can feel a bit intimidating at first, especially if you’re worried about sight obstruction or alignment issues. However, with the right setup and careful installation, you can achieve a clean sight picture and consistent accuracy.
The front sight base doesn’t prevent you from using a scope—it just requires a smarter approach to mount height, eye relief, and positioning. Let’s go step by step so you can get your AR-15 properly set up for reliable shooting.
Understanding the Challenge of a Front Sight
The AR-15’s fixed front sight (often an A2-style sight base) sits directly in the line of sight. When you mount a scope, this can create:
- Partial obstruction in the lower portion of the optic view
- A visible “blur” or shadow at low magnification
- Distraction when trying to acquire targets quickly
The solution is not removing the front sight, but choosing the correct mount height and optic positioning so the sight no longer interferes with your shooting focus.
Step 1: Choose the Right Mount Height
Mount height is the most important factor when working around a fixed front sight.
- Standard height mounts: May still show the front sight in your scope’s lower view
- 1.93” or taller mounts: Help “clear” the front sight for a cleaner sight picture
- Cantilever mounts: Especially useful for AR-15 platforms, as they extend the optic forward and improve eye relief
For most shooters using magnified optics, a cantilever mount with a slightly higher profile offers the best balance of clarity and comfort.
Step 2: Decide on Your Sight Picture Approach
You generally have two setup options:
- Co-witness setup: Iron sights remain visible through the optic
- Useful for backup aiming
- Front sight will still be visible in the scope view
- Non-co-witness (recommended for scopes):
- Optic is positioned so the front sight is minimized or blurred
- Cleaner field of view for magnified shooting
Most AR-15 scope users prefer a non-co-witness setup, especially for hunting or precision shooting.
Step 3: Mount the Base on the Upper Receiver
Proper placement ensures stability and accuracy:
- Always mount the optic on the upper receiver Picatinny rail, not the handguard (unless it is a rigid free-float system)
- Position the mount to allow proper eye relief when shouldering the rifle naturally
- Use a torque wrench and tighten base screws to manufacturer specs (commonly 30–65 in-lbs)
- Apply a small amount of blue thread locker for long-term stability
A solid base prevents shifting, which is critical when dealing with any sight obstruction concerns.
Step 4: Install and Position the Scope
Once the mount is secure:
- Place the scope into the rings and lightly tighten
- Adjust forward/backward position until you achieve full eye relief
- Shoulder the rifle naturally and confirm a full, clear sight picture
- Ensure you are not stretching your neck or moving your head unnaturally
Proper eye relief is especially important on AR-15s because stock geometry differs from bolt-action rifles.
Step 5: Level the Scope Carefully
Even a slight cant can cause noticeable accuracy issues at distance.
- Place a level on the rifle’s rail
- Level the rifle first
- Place a second level on the scope turret or flat reference point
- Rotate the scope until both levels match
Take your time here—this step ensures your adjustments and holdovers remain accurate.
Step 6: Secure Rings and Final Tightening
Once alignment is correct:
- Tighten ring screws gradually in a crisscross (X-pattern)
- Apply even pressure to avoid damaging the scope tube
- Torque ring screws to 15–20 in-lbs (typical range)
| Component | Recommended Torque |
|---|---|
| Ring screws | 15–20 in-lbs |
| Base bolts | 30–65 in-lbs |
Proper torque prevents both slippage and optic damage.
Step 7: Manage Front Sight Visibility
If the front sight is still visible in your scope:
- Increase mount height slightly
- Switch to a cantilever mount with more forward offset
- Accept that at higher magnification, the front sight will appear blurred and less distracting
In most cases, shooters find that once properly focused, the front sight becomes a minor visual element rather than a problem.
Step 8: Final Inspection and Zeroing
Before heading to the range:
- Confirm all screws are torqued properly
- Ensure the scope does not shift under light pressure
- Check eye relief again in a natural shooting position
Then proceed to zero your rifle:
- Start at 50 or 100 yards
- Fire controlled 3-shot groups
- Adjust windage and elevation until point of aim matches point of impact
Common Mistakes To Avoid
Even experienced shooters sometimes make mistakes when mounting a scope. Watch out for these pitfalls:
- Over-tightening screws: This can strip threads or dent your scope tube.
- Incorrect eye relief: If you have to stretch your neck or move your head, adjust again.
- Not leveling the scope: A tilted reticle leads to missed shots.
- Skipping degreasing: Oil can make mounts slip under recoil.
- Mixing up ring halves: Always keep ring tops and bottoms together as a matched set.
A small mistake can cause big problems. Take your time, and don’t be afraid to start over if something feels wrong.
Choosing The Best Scope For Your AR-15
Mounting is only half the battle—the right scope makes a big difference. Consider these factors when choosing:
- Intended use: Hunting, home defense, competition, or general target shooting
- Magnification: 1-4x for close range, 3-9x for medium, higher for long-range shooting
- Weight: Heavy scopes affect handling
- Durability: Shockproof, waterproof, and fogproof construction
Here’s a comparison of typical scope choices for AR-15s:
| Scope Type | Magnification | Best For | Approximate Weight |
|---|---|---|---|
| Red dot | 1x | Close-range, fast target acquisition | 5-8 oz |
| LPVO (Low Power Variable Optic) | 1-6x, 1-8x | Versatile, short to medium range | 16-20 oz |
| Traditional scope | 3-9x, 4-12x | Medium to long range | 12-18 oz |
Non-obvious insight: Many beginners choose high magnification “just in case,” but for most AR-15 uses, a lower power scope or red dot is faster and more practical.
Confirming Zero After Mounting
Mounting your scope is only the beginning. You must zero the optic, aligning the point of aim with the point of impact. For most AR-15s, 50 yards is a common zero distance, but 100 yards is also popular for longer-range shooting.
- Use a stable rest or sandbags.
- Fire 3-shot groups and adjust windage/elevation as needed.
- Repeat until your shots consistently hit the bullseye at your chosen distance.
Non-obvious insight: Temperature, ammunition, and even how you hold the rifle can affect zero. Always check zero after changing ammo or making big environmental changes.
Practical Tips For Better Mounting
- Mark the position of your scope with a pencil or tape before tightening, so you can see if it moves.
- If you regularly swap optics, consider a quick-detach mount for repeatable zero.
- Always check local laws before modifying your AR-15, as some places have restrictions on optics or accessories.
Frequently Asked Questions
What Is The Best Type Of Mount For An AR-15 Scope?
A one-piece cantilever mount is usually the best for AR-15 rifles. It provides strong support, correct height, and forward offset for proper eye relief. Two-piece rings work, but alignment is more difficult.
How Tight Should I Make The Scope Rings?
Most manufacturers recommend 15-20 inch-pounds for ring screws. Over-tightening can crush the scope tube, so always use a torque wrench and check your mount’s instructions.
Do I Need To Use Thread Locker On The Screws?
Yes, using a blue thread locker (not red) helps prevent screws from loosening due to recoil. Only a small amount is needed. Avoid the stronger red thread locker, as it makes removal very difficult.
How Do I Know If My Scope Is Level?
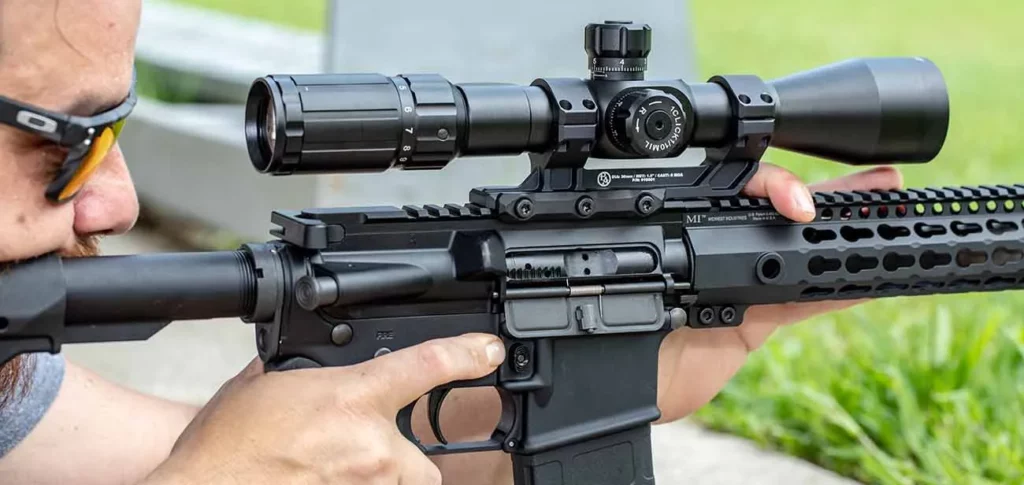
Use a bubble level or a dedicated leveling tool. Place one level on the rifle’s rail and another on the scope’s turret cap. Adjust until both show level. Eyeing it alone is not accurate enough.
Will Mounting A Scope Affect The Value Of My Ar-15?
In most cases, adding a scope increases the rifle’s value, especially for practical shooters. However, drilling or modifying the receiver (rarely needed for modern AR-15s) can lower value. Always use the existing rail system for mounting.
For more detailed information about AR-15 scopes and mounting, visit the AR-15 Wikipedia page.
Mounting a scope on your AR-15 may seem daunting at first, but with patience and the right steps, you’ll achieve a secure, accurate setup. Take your time, use proper tools, and always double-check your work. The satisfaction of hitting your mark with confidence is well worth the effort.

Leave a Reply