Sighting in your rifle scope is a key step for accurate shooting. When you focus at 25 yards, you create a solid foundation for longer distances and safer hunting or target practice. Beginners often feel confused about the process—what tools to use, how to adjust the scope, or even where to stand.
This guide will walk you through every step, break down common mistakes, and share practical advice, so you can sight in your rifle scope at 25 yards with confidence. By the end, you’ll know exactly what to do, what to avoid, and why each step matters.
1. Choose The Right Location
The first thing to consider is your shooting environment. A safe, flat area with a proper backstop is essential. Never sight in near buildings, roads, or people. Shooting ranges often have 25-yard lanes designed for this purpose. If you use private land, check local laws and ensure no one can enter your shooting area by accident.
2. Use A Stable Shooting Rest
Stability is the secret to accurate sighting. Use a shooting bench or sturdy table. Rest your rifle on sandbags, a gun vise, or a dedicated rest. Avoid sighting in while standing or unsupported; human movement causes errors that confuse scope adjustments. A stable base ensures your shots reflect only the scope, rifle, and ammunition, not shaky hands.
3. Set Up A Clear Target
Use a high-contrast target with a clear bullseye. Black-and-white paper targets with one-inch grids work best at 25 yards. The grid pattern makes it easier to measure adjustments. Avoid targets that blend with the background or have unclear aim points.
4. Ensure The Rifle Is Unloaded
This step sounds basic, but it’s critical. Before mounting your scope or making any adjustments, always check that your rifle is unloaded. Open the action, remove the magazine, and inspect the chamber visually and physically. Accidents happen when people skip this step.

5. Mount The Scope Properly
A poorly mounted scope will never hold zero. Use the correct rings for your rifle and scope diameter. Position the scope so you have a full field of view and comfortable eye relief. Tighten all screws firmly, but don’t overtighten, which can damage the scope tube.
Level the scope using a bubble level or visual references on the rifle.
6. Bore Sighting
Bore sighting aligns the barrel with the scope before you fire a shot. Remove the bolt (for bolt-action rifles) and look down the barrel at the target. Adjust the scope so the reticle centers on the same spot. Laser bore sighters make this step faster and more precise, but manual bore sighting still works.

7. Use The Right Ammunition
Always sight in with the same ammunition you plan to use for hunting or competition. Different brands and bullet weights hit different points on the target. Mixing ammo leads to frustration and wasted time.
8. Check Eye Relief
Eye relief is the distance between your eye and the scope’s rear lens. Too close, and you risk “scope bite”—a bruised eyebrow from recoil. Too far, and you lose the full field of view. Adjust the scope placement until you see a clear, bright image when in shooting position.
9. Adjust Parallax (if Your Scope Has It)
Some scopes have parallax adjustment—a feature that sharpens the image at different distances. Set it to 25 yards if possible. If your scope doesn’t have parallax adjustment, keep your eye centered in the scope to avoid aiming errors.
10. Confirm Reticle Focus
A blurry reticle makes aiming hard. Most scopes have a fast-focus eyepiece at the rear. Look at a blank wall, then quickly glance at the reticle. If it’s not sharp, twist the eyepiece until it is. This step is often missed, but it greatly improves accuracy.
11. Fire A Three-shot Group
Load your rifle and fire a three-shot group at the target’s center, aiming carefully each time. This group shows your “starting point.” Don’t adjust the scope after each shot; wait until you see the group pattern.
12. Measure The Group And Note Impact
After firing, check where the group hit in relation to the bullseye. Use the target’s grid or a ruler. Measure both the horizontal (windage) and vertical (elevation) distance from the bullseye to the group’s center. Write down these measurements.

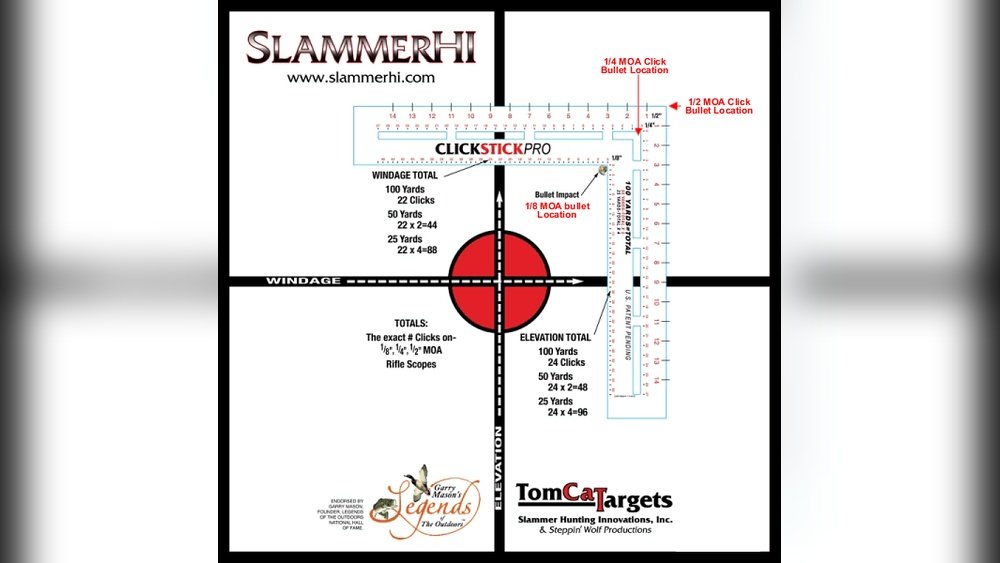
13. Calculate Scope Adjustments
Scopes adjust in “clicks,” usually 1/4 MOA per click (about 0. 25 inches at 100 yards; at 25 yards, each click moves the impact about 0. 0625 inches). Calculate how many clicks you need to move the group to the bullseye.
Here’s a quick comparison of click values at different ranges:
| Distance | 1 MOA | 1/4 MOA Click |
|---|---|---|
| 100 yards | 1.05 inches | 0.26 inches |
| 50 yards | 0.52 inches | 0.13 inches |
| 25 yards | 0.26 inches | 0.065 inches |
14. Make Windage And Elevation Adjustments
Now, use the turrets on your scope to adjust windage (left-right) and elevation (up-down). Turn the turrets the calculated number of clicks in the direction needed. Most scopes have arrows showing which way to turn for “up” or “right.” Always make adjustments gently; forcing the turrets can damage the scope.
15. Fire Another Group
After adjusting, fire another three-shot group at the same point. This confirms your changes. Don’t chase single shots—always adjust based on a group, not one stray bullet.
16. Repeat Adjustments As Needed
It often takes two or three rounds of shooting and adjusting to center the group. Be patient. Tiny errors can come from shooter technique, ammunition, or wind. Focus on tight groups, not just hitting the bullseye immediately.
17. Record Your Scope Settings
Once you’re hitting the center, write down your scope settings for 25 yards. Record the number of clicks from the “zero” position for both windage and elevation. This helps if you need to re-zero later or want to adjust for different distances.
18. Check For Consistent Grouping
A well-sighted scope gives you consistent grouping—shots that land close together. If your groups are wide or random, check for loose scope mounts, bad ammunition, or inconsistent shooting position. It’s worth troubleshooting before moving to longer ranges.
19. Fine-tune Your Shooting Position
Small changes in your shooting position affect accuracy. Use the same cheek weld, grip, and body alignment for every shot. Even how you press the trigger matters. If your groups shift during sighting, focus on improving your form before blaming the scope.
20. Let The Barrel Cool
Continuous shooting heats up the rifle barrel, which can change your point of impact. Fire groups slowly, and let the barrel cool for a few minutes between groups. This step is missed by many beginners and causes confusion about scope reliability.
21. Use A Spotting Scope Or Binoculars
Instead of walking to the target after every group, use a spotting scope or binoculars. They help you see bullet holes from the bench, saving time and keeping your shooting flow steady. Spotting scopes are especially helpful in busy ranges.
22. Adjust For Different Lighting
Light changes how you see the target and reticle. Try to sight in under steady, natural light. If you shoot indoors or in low light, check your zero again under those conditions. Shadows or glare can make your scope appear off when it’s not.
23. Clean The Barrel Regularly
A dirty barrel can cause erratic shots. Clean your rifle before sighting in and between shooting sessions. Use a bore brush and solvent for best results. Avoid over-cleaning during the sight-in process, as this can temporarily change the point of impact.
24. Confirm Zero After Handling
Always re-check your zero if you drop the rifle, change the scope, or transport it. Even a small bump can knock your scope off. Fire a quick group at 25 yards after any major handling to confirm you’re still sighted in.
25. Understand 25 Yards Zero For Longer Distances
Zeroing at 25 yards does not mean you’re also zeroed at 100 yards. Most rifles will shoot higher at longer distances due to bullet trajectory. Use a ballistics calculator or charts to adjust for your final zero distance. As an example, a .223 Remington zeroed at 25 yards will hit about 1.5 inches high at 100 yards. Always double-check at your main shooting distance.
Here’s a simple comparison for a .223 Remington, 55-grain FMJ:
| Zero Distance | POI at 25 yards | POI at 50 yards | POI at 100 yards |
|---|---|---|---|
| 25 yards | 0 | +0.7 inch | +1.5 inches |
| 100 yards | -1.5 inches | -0.6 inch | 0 |
Practical Tips Most People Miss
- Mark your scope’s turret positions with a paint pen after zeroing. This makes it easy to see if turrets move later.
- Always bring extra ammunition, batteries (if using illuminated reticles), and basic tools to the range. Scope screws can loosen during shooting.
- If possible, sight in on a calm day. Wind, even at 25 yards, can move lightweight bullets off target.
Frequently Asked Questions
What Is The Fastest Way To Sight In A Rifle Scope At 25 Yards?
Start with bore sighting, use a stable rest, fire a three-shot group, and adjust the scope based on group center. Repeat until the group is centered. Using a laser bore sighter and clear grid target speeds up the process.
How Many Clicks Equal 1 Inch At 25 Yards?
For a typical 1/4 MOA scope, one click moves the impact about 0. 065 inches at 25 yards. It takes around 15 clicks to move your point of impact one inch at this range.
Should I Clean My Rifle Before Or After Sighting In?
Always clean your rifle before sighting in. A clean barrel gives consistent results. During sighting, avoid cleaning between every group, as it can temporarily change your point of impact.
Why Do I Need To Sight In At 25 Yards?
Sighting in at 25 yards is practical for short ranges, indoor shooting, or preliminary zeroing. It’s easier to see your groups, and safer in small ranges. Later, you can adjust for longer distances.
Where Can I Find More Details On Ballistics And Scope Setup?
For deep technical info on ballistics and scope mounting, check resources like the Zeroing (firearms) Wikipedia page.
Sighting in a rifle scope at 25 yards is a smart, step-by-step process. By following these 25 steps closely, you build solid shooting habits, improve accuracy, and set yourself up for success at any distance. Remember, patience and consistency matter more than speed.
With practice, you’ll sight in quickly and confidently every time.
Leave a Reply