Mounting a scope to a Picatinny rail can seem tricky if you’re new to firearms or optics. You want your scope to stay secure, hold zero, and line up perfectly with your eye every time you shoot. But if you rush or miss a step, you’ll end up with a loose scope, poor accuracy, or even damage to your equipment.
The good news? You don’t need a gunsmith to do it right. With the proper tools, some patience, and attention to detail, you can mount your scope yourself and get reliable results.
Let’s walk through the full process, from picking the right rings to zeroing your scope. Along the way, you’ll learn helpful tips and avoid the mistakes that beginners often make. By the end, you’ll have a solid understanding of how to mount a scope to a Picatinny rail and why each step matters for accuracy and safety.
Understanding The Picatinny Rail System
The Picatinny rail is a standardized mounting platform often found on modern rifles and some shotguns. It features a series of evenly spaced slots that allow you to attach scopes, red dots, flashlights, and other accessories. The biggest advantage is flexibility—you can move your scope forward or backward to get perfect eye relief.
A Picatinny rail differs from a Weaver rail mainly in slot size and spacing. Picatinny slots are wider (0. 206 inches) and more precisely spaced, which means most Weaver rings fit a Picatinny rail, but not always the other way around.
Tools And Materials Needed
Before you start, gather all necessary tools. Using the right equipment prevents damage and makes the job much easier.
Essential tools:
- Torque wrench (inch-pounds, not foot-pounds)
- Bubble level (scope leveling kit or small line level)
- Allen wrenches or Torx keys (for scope rings)
- Gun vise or solid rest
- Thread locker (blue/medium strength, optional)
- Lint-free cloth
- Degreaser (like rubbing alcohol)
Having these on hand saves frustration and ensures a secure, accurate mount.
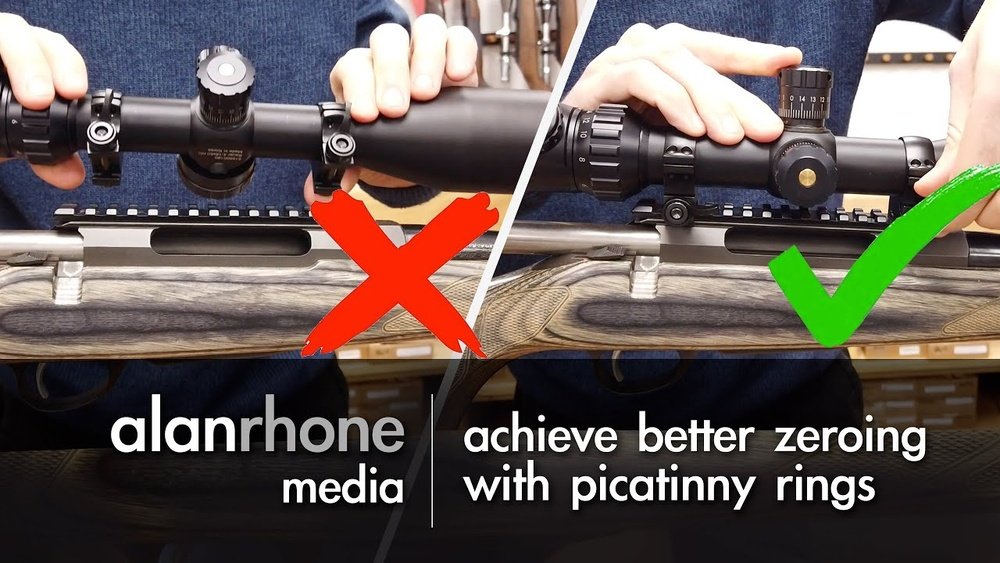
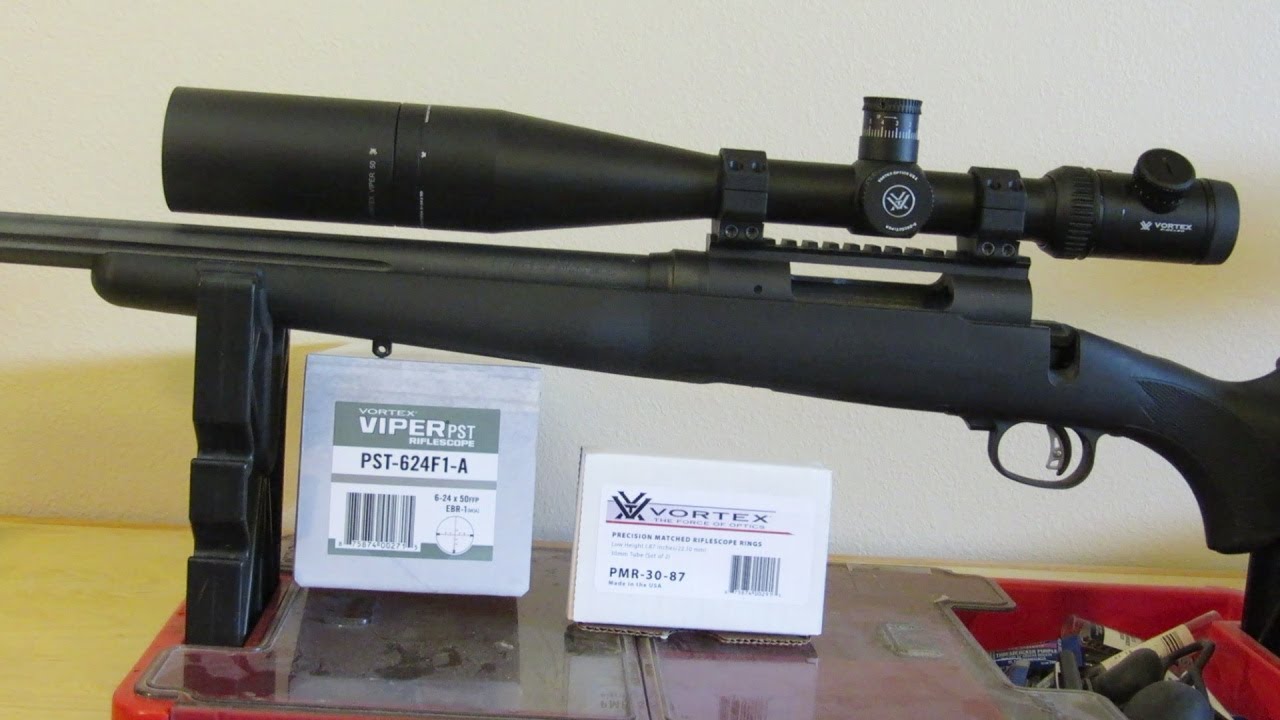
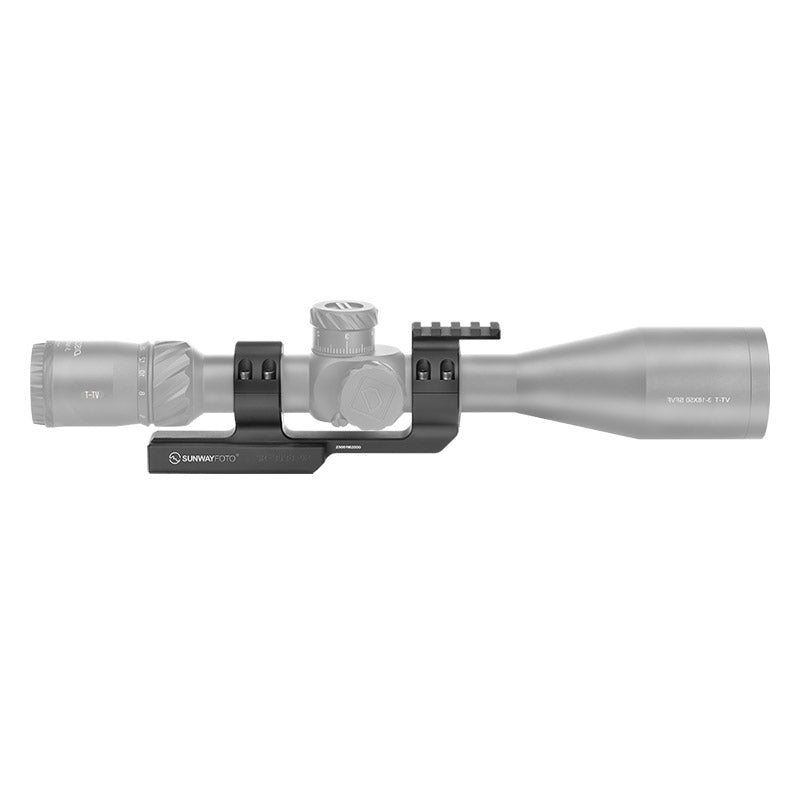
Choosing The Right Rings And Mounts
Not all scope rings and mounts are created equal. Using the wrong ones leads to poor fit or scope slippage.
When selecting rings for a Picatinny rail, focus on these factors:
- Ring Height: The scope’s objective lens should clear the barrel by at least 1/8 inch. Too high, and you lose cheek weld; too low, and the scope touches the barrel.
- Tube Diameter: Most scopes are 1 inch (25.4mm) or 30mm. Choose rings to match.
- Material: Steel rings are tough but heavy. Aluminum is lighter and common for most applications.
- One-piece vs. Two-piece: One-piece mounts offer more strength and alignment but add weight. Two-piece rings are lighter and give more mounting flexibility.
Here’s a quick comparison of common ring options:
| Type | Best For | Pros | Cons |
|---|---|---|---|
| One-piece mount | AR rifles, heavy recoil | Strong, easy alignment | Heavier, less flexible |
| Two-piece rings | Bolt-action, hunting | Lighter, more positions | More alignment needed |
| Quick-detach | Shared optics | Fast removal | May lose zero |
Preparing The Rifle And Scope
Before attaching anything, make sure your rifle is unloaded and pointed in a safe direction. Remove the bolt or open the action to double-check. Next, clean the top of the Picatinny rail and the bottoms of your scope rings using a degreaser and lint-free cloth. This removes oil and dirt, helping prevent slippage.
Inspect the scope and rings for damage or burrs. Even small metal shavings can scratch your scope’s tube or make rings fit poorly. If you find any burrs, gently smooth them with a fine file or sandpaper.

Attaching Rings Or Mount To The Picatinny Rail
Now you’re ready to start mounting.
- Separate the ring tops from the bottoms.
- Place the lower halves of the rings or mount on the Picatinny rail. Position them roughly where you want your scope to sit.
- Tighten the rail cross-bolts just enough to hold the rings in place, but don’t fully torque them yet. You’ll need to adjust later.
A common beginner mistake is overtightening the rings before fitting the scope. This makes it harder to align the scope and can damage the rail or rings.
Setting Eye Relief And Scope Position
Eye relief is the distance from your eye to the scope’s rear lens. Too close, and you risk “scope bite” from recoil. Too far, and you lose a full sight picture.
To find the correct eye relief:
- Place the rifle in a shooting position—preferably on a bench or from your favorite stance.
- Lay the scope in the lower rings without attaching the top halves.
- Move the scope forward or backward until you see a full, clear image with no black ring around the edge.
- Mark the position with a pencil or tape.
Non-obvious tip: Set eye relief for your strongest shooting position. For most, that’s prone or benchrest. If you hunt, check eye relief while standing, as your head position changes.
Leveling The Scope
Proper leveling is often overlooked but is critical for long-range accuracy. A canted scope causes your bullet to hit left or right at distance.
To level your scope:
- Secure the rifle in a gun vise or on sandbags.
- Place a bubble level on the Picatinny rail or receiver to level the rifle.
- Rest the scope in the rings and place another level on the scope’s turret cap.
- Rotate the scope until the bubble reads level.
Some shooters use a plumb line on a wall as an additional reference. The goal is for the reticle’s crosshairs to match vertical and horizontal perfectly.
Securing The Scope And Torqueing Screws
With the scope level and eye relief set, it’s time to secure everything.
- Install the top halves of the rings and snug the screws in a crisscross pattern. Don’t fully tighten one side before the other.
- Check the scope’s level and eye relief again. Adjust if needed.
- Apply thread locker to the ring screws (optional, but helps prevent loosening from recoil).
- Torque each screw to the manufacturer’s recommended value, usually 15–20 inch-pounds for rings and 35–65 inch-pounds for rail cross-bolts.
Using a torque wrench is important. Over-tightening can crush your scope tube or strip screws, while under-tightening allows movement.
Here’s a look at typical torque specs:
| Component | Torque Setting (in-lbs) |
|---|---|
| Ring screws | 15–20 |
| Rail cross-bolts | 35–65 |
| Base screws | 20–30 |
Check your scope and ring manufacturer’s manual, as some require specific values.
Final Checks And Zeroing
After everything is tightened, double-check that:
- The scope is level
- Eye relief is correct
- The scope does not shift when you tap or wiggle it gently
Now you’re ready to zero your rifle. Start at 25 or 50 yards to get on paper, then move to your preferred zero distance (usually 100 yards for most rifles).
Pro tip: After your first shooting session, recheck all screws for tightness. Recoil can sometimes loosen them on the first few shots.
Advanced Tips For A Perfect Mount
If you want to go the extra mile:
- Lapping your rings (polishing the inside surfaces) can improve contact and reduce stress on the scope tube, especially with cheaper rings.
- Bubble levels or anti-cant devices can be attached to your rail or scope. These help you keep the rifle level when shooting at distance.
- Mark your screws with a paint pen after torqueing. This shows if any screws start to back out over time.
Many experienced shooters ignore these steps and never have issues, but they can make a difference for precision shooting or heavy recoil rifles.
Common Mistakes To Avoid
Even seasoned shooters sometimes slip up. Watch for these common errors:
- Mounting the scope too high—leads to poor cheek weld and inconsistent shooting.
- Forgetting to degrease—oils make screws loosen over time.
- Over-torqueing—damages scope tubes or strips threads.
- Not checking level—causes accuracy problems at longer ranges.
- Ignoring manufacturer specs—each scope and ring can be a bit different.
Attention to detail now saves headaches and missed shots later.
When To Use Thread Locker (and When Not To)
Thread locker like Loctite Blue 242 helps keep screws secure, but it’s not always necessary. Use it on steel-to-steel threads, like rail cross-bolts or base screws. Avoid using it on aluminum threads, as it can damage softer metal or make removal difficult.
If you shoot a heavy-recoil rifle, or plan to keep your scope mounted for years, a dab of thread locker adds peace of mind. Don’t use the red, permanent type—it makes future removal very difficult.
Troubleshooting Scope Mounting Issues
Sometimes, even after following all steps, problems happen. Here’s how to fix common mounting issues:
- Scope shifts after shooting: Check torque on all screws, and ensure the rings are not too wide for the scope tube.
- Reticle not level: Loosen ring tops, realign the scope, and retighten.
- Scope won’t fit rings: Double-check you have the right tube diameter (1 inch vs. 30mm).
- Inconsistent accuracy: Inspect for loose screws, poor cheek weld, or a canted scope.
If in doubt, remove everything and start again. A rushed or sloppy mount will always cause problems.
Scope Mounting For Different Firearm Types
Mounting a scope to a bolt-action hunting rifle is similar but sometimes requires taller rings for bolt clearance. On an AR-15, you may need a cantilever mount to move the scope forward for proper eye relief.
Shotguns and scout rifles may use shorter optics or red dots, but the basics remain the same: level, secure, and proper eye relief.
Here’s a quick comparison of how scope mounting can differ by firearm:
| Firearm Type | Ring Height | Special Considerations |
|---|---|---|
| Bolt-action rifle | Medium-high | Bolt handle clearance |
| AR-15/AR-10 | Low-medium (or cantilever) | Forward mounting for eye relief |
| Shotgun | Low | Short eye relief optics |
Frequently Asked Questions
How Tight Should I Make Scope Ring Screws?
Follow the manufacturer’s torque spec, usually 15–20 inch-pounds for ring screws. Over-tightening can crush your scope tube; under-tightening lets the scope move. Use a torque wrench for best results.
Can I Use Weaver Rings On A Picatinny Rail?
Most Weaver rings will fit a Picatinny rail, but not all. Picatinny slots are wider and more consistent. If the cross-bolts fit snugly and the rings don’t wobble, you’re good to go.
Do I Need To Lap My Scope Rings?
Lapping is not required for most high-quality rings but helps with cheaper or misaligned rings. It ensures even contact and reduces the chance of scope damage.
Should I Use Thread Locker On All Screws?
Use thread locker (blue/medium strength) only on steel-to-steel threads, such as rail or base screws. Avoid on aluminum threads or ring screws unless recommended by the manufacturer.
What Is The Best Distance To Zero My Scope After Mounting?
For most rifles, 100 yards is standard. For rimfires or air rifles, 25–50 yards is common. Always start at a closer range (25–50 yards) to get on paper, then fine-tune at your final zero distance.
Mounting a scope to a Picatinny rail is a skill every shooter can master. Take your time, follow each step, and don’t be afraid to restart if something feels off. With careful attention and the right tools, you’ll enjoy reliable accuracy and confidence at the range or in the field. For more on Picatinny rails and mounting standards, you can visit the Wikipedia page on Picatinny rails. Happy shooting!
Leave a Reply