A red dot sight is a popular aiming tool used on rifles, shotguns, and handguns. It offers a bright, easy-to-see dot for fast target acquisition, making shooting quicker and more accurate. But even the best red dot sight will not help much if it is not properly calibrated.
Calibration, often called “zeroing,” makes sure the red dot matches where your bullets hit. This step is essential for hunters, sport shooters, and anyone who wants to trust their aim. Many people feel intimidated by the process, but with patience and the right steps, anyone can calibrate a red dot sight.
This article will walk you through the complete process, including tips, common mistakes, and ways to get the best results.
What Is Red Dot Sight Calibration?
Calibration means adjusting your red dot sight so the point you see aligns with the bullet’s impact point at a certain distance. Without calibration, your shots may consistently miss the target, no matter how well you aim. Most shooters zero their sights at 25, 50, or 100 yards, depending on their needs. Calibrating a red dot is different from calibrating traditional iron sights or scopes because of its simple design and unlimited eye relief.
A well-calibrated red dot gives you more confidence and better accuracy. For example, a test by the U.S. Army found that shooters improved hit probability by over 20% when using a properly zeroed red dot compared to iron sights. This shows how much calibration can affect your performance.
Tools And Materials Needed
To calibrate your red dot sight, you need a few basic items. Having the right tools will save you time and frustration:
- Firearm with mounted red dot sight (rifle, shotgun, or handgun)
- Ammunition (same type you plan to use in real situations)
- Shooting rest or sandbags (for stability)
- Targets (paper targets with clear aiming points)
- Screwdriver or adjustment tool (matches your sight’s windage/elevation screws)
- Protective gear (ear and eye protection)
- Rangefinder or measuring tape (to set the correct distance)
- Pen and tape (to mark adjustments on targets)
- Boresighter (optional, for faster zeroing)
Using the same ammo you plan to use in real life is critical. Different bullet weights or types can change where your shots land. Many beginners skip this and later wonder why their zero is off.
Setting Up Your Shooting Environment
Before you start, pick a safe shooting area like a certified range. A calm, controlled environment is important for accuracy and safety. Set your target at your chosen zero distance—most start at 25 or 50 yards for rifles and 10-15 yards for handguns. Use a tape measure or rangefinder for accuracy.
Stabilize your firearm using a bench rest, shooting bags, or a bipod. This removes most human error and lets you focus on adjusting the sight, not correcting for shaky hands. Secure your target so it does not move in the wind or from bullet impacts.
Pay attention to lighting and weather. Strong sunlight, rain, or wind can affect how you see the dot and where bullets hit. Try to calibrate in calm, consistent conditions if possible.
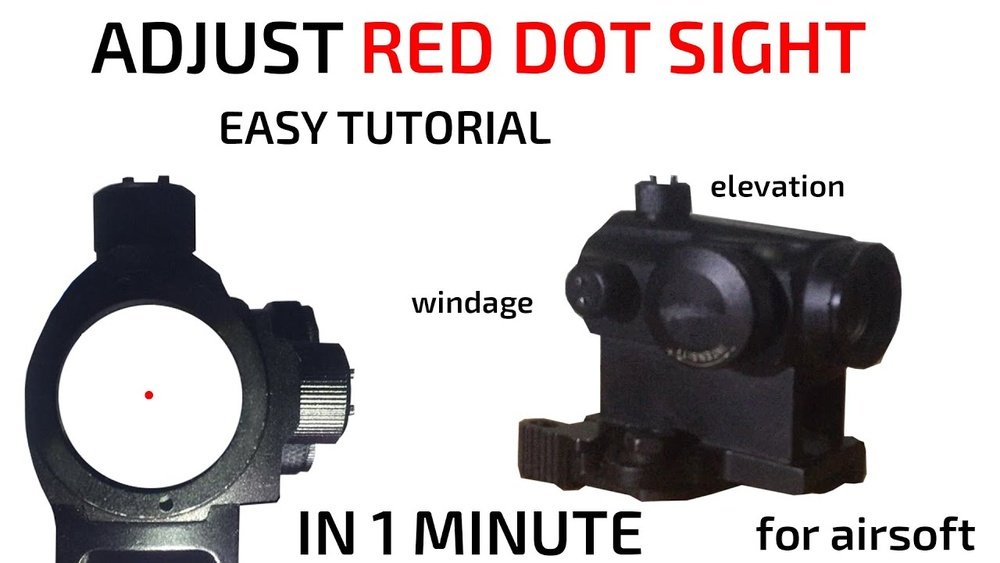
Understanding Red Dot Adjustments
Red dot sights have two main adjustment points: windage (left/right) and elevation (up/down). Most sights adjust in MOA (Minute of Angle), where 1 MOA at 100 yards equals about 1 inch. If your sight moves in 0.5 MOA clicks, each click moves your point of impact by half an inch at 100 yards, or a quarter inch at 50 yards.
Here’s a quick reference for common distances:
| Distance | 1 MOA Adjustment | 0.5 MOA Click |
|---|---|---|
| 25 yards | 0.26 inch | 0.13 inch |
| 50 yards | 0.52 inch | 0.26 inch |
| 100 yards | 1 inch | 0.5 inch |
Always read your sight’s manual for exact adjustment values. Different brands have their own systems.

Initial Bore Sighting (optional But Useful)
Bore sighting helps you get “on paper” quickly, so your first shots are close to the target. It is not required but saves time and ammo.
- Unload your firearm and remove the bolt (for rifles).
- Look down the barrel and center the target in your view.
- Without moving the gun, adjust the red dot so it also points at the target center.
- Re-check both views, making small corrections.
Laser boresighters can make this process faster and easier, especially for beginners.
Step-by-step Calibration Process
Now you are ready for the live-fire calibration. Follow these steps closely:
- Fire a 3-5 shot group at the target, aiming at the exact same spot each time. Don’t adjust the sight yet.
- Check your group. Look for the center of your shot pattern, not single stray shots. Mark the group on the target.
- Measure the distance from the center of your group to your aiming point. Use a ruler for accuracy.
- Calculate adjustments. Use the MOA values from your sight’s manual and the table above to determine how many clicks you need to move the group to the bullseye.
- Adjust windage and elevation as needed. Make changes slowly, one axis at a time.
- Fire another group to test your adjustments. Repeat steps 2-5 until your shots hit where the dot points.
Many shooters make the mistake of “chasing” each bullet hole. Focus on the center of your group, not outliers. This leads to a more reliable zero.

Fine-tuning Your Zero
After your shots are hitting close to the bullseye, do a final confirmation group. Fire 5 shots slowly, aiming carefully each time. If all or most shots are on target, your red dot sight is zeroed.
If you plan to shoot at various distances, remember that bullet trajectory changes. For example, a 50-yard zero will hit slightly high at 25 yards and lower at 100 yards, depending on your firearm and ammo.
Here’s an example of how point of impact can shift at different distances with a 50-yard zero:
| Distance | Point of Impact vs. Red Dot |
|---|---|
| 25 yards | +0.5 inch (high) |
| 50 yards | 0 inch (zeroed) |
| 100 yards | -1.5 inch (low) |
Knowing this helps you adjust your aim for different ranges.
Common Calibration Mistakes To Avoid
Many shooters make small mistakes that ruin their calibration:
- Using different ammo during zeroing and real use. Stick to one type.
- Failing to stabilize the firearm. Even small movements can throw off your zero.
- Zeroing in poor weather or at crowded, distracting ranges.
- Chasing every shot instead of using group centers.
- Not confirming your zero with a final slow group.
Taking your time during calibration pays off every time you pull the trigger later.
Maintaining Your Zero
A red dot sight can lose its zero if it’s bumped, dropped, or removed from the firearm. Temperature changes or battery failures can also affect the dot’s position. Check your zero regularly, especially after travel or hard use.
Write down your calibration distance and settings in a notebook. This makes re-zeroing much faster if you ever need to reset your sight.
Advanced Tips For Best Results
- Practice natural shooting position while zeroing. If you always shoot standing, zero from that position, not just from a bench.
- Check zero after cleaning your gun or changing accessories like suppressors.
- Use high-contrast targets for better visibility of your shot groups.
- Try different distances if your first zero does not match your shooting style.
- Test at your usual environment (like hunting fields or competition ranges) for final confirmation.
Many shooters miss the importance of testing their zero in real-world conditions. Even a small change in shooting position or weather can affect your point of impact.
Quick Comparison: Red Dot Vs. Iron Sights For Zeroing
For those wondering how red dots compare to traditional iron sights in calibration, here’s a side-by-side look:
| Feature | Red Dot Sight | Iron Sights |
|---|---|---|
| Ease of Adjustment | Simple dials, fast changes | Manual, more complex |
| Eye Relief | Unlimited | Requires alignment |
| Low-Light Performance | Very good | Poor |
| Zero Retention | Depends on battery/mount | Very stable |
Red dots are generally faster to calibrate and easier to use, but require more checks to keep their zero.
Safety Considerations
Never forget basic firearm safety rules while calibrating:
- Always point the gun in a safe direction.
- Keep your finger off the trigger until ready to shoot.
- Use ear and eye protection.
- Make sure the range is clear before firing.
- Double-check that your firearm is unloaded before making sight adjustments.
Many accidents happen during “routine” tasks like zeroing. Stay alert and careful.

Frequently Asked Questions
How Often Should I Recalibrate My Red Dot Sight?
Check your zero every few months or after any hard knocks, drops, or travel. If you change ammo or accessories, recalibrate before serious use.
What Distance Should I Choose For Zeroing My Red Dot?
For rifles, 50 yards is a common starting point. For handguns, 10-15 yards is typical. Pick the distance that matches how you use your firearm most.
Can I Use A Laser Boresighter To Skip Live-fire Calibration?
A boresighter helps you get close but is not a substitute for live-fire calibration. Always confirm with real bullets, as each gun and ammo type is different.
Why Do My Shots Still Miss After Calibrating At The Range?
Possible reasons include using different ammo, changing shooting positions, or loose mounts. Double-check your setup and try again, focusing on consistent technique.
Are Red Dot Sights Better Than Iron Sights For Beginners?
Red dots are often easier for new shooters, offering faster target acquisition and less need for perfect alignment. They do need batteries and regular checks, though. For more on red dot sights, see this Wikipedia article.
Calibrating a red dot sight may seem technical at first, but it’s a valuable skill for any shooter. Take your time, be precise, and you’ll enjoy faster, more accurate shooting every time.
Leave a Reply