
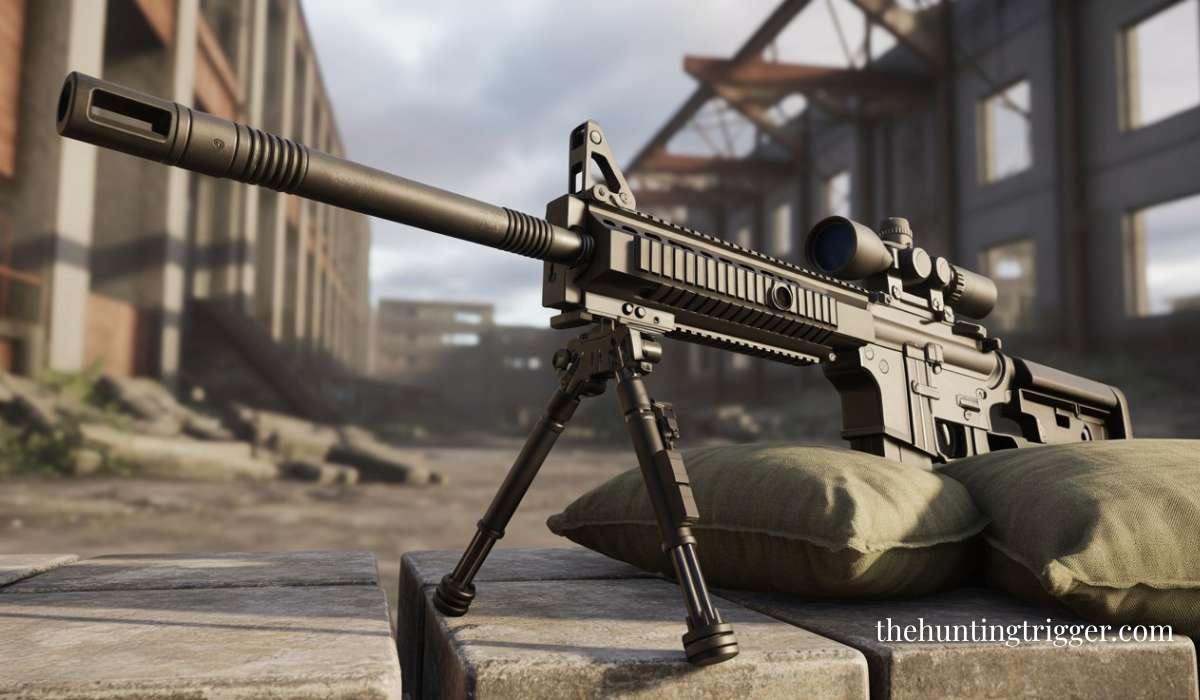
Mounting a bipod on your rifle can improve your shooting accuracy and comfort, whether you’re a hunter, target shooter, or tactical user. If you’re new to rifles or haven’t used a bipod before, the process might seem confusing. But with the right approach, you can attach a bipod safely and securely in a short time.
This article explains every part of the process, highlights what matters, and points out details that are often missed by beginners.
Table of Contents
Why Use A Bipod?
A bipod helps to steady your rifle during aiming and shooting. It reduces muscle fatigue, especially during long sessions or when waiting for game. Bipods can also help control recoil, making your shots more precise. Some types allow quick adjustment to suit different surfaces, giving you an advantage in changing environments.
Risks of shooting a rifle while pregnant
Types Of Bipod Attachments
Not all rifles and bipods are made the same way. Before you buy or mount a bipod, check what attachment type your rifle supports. The three main types are:
1. Sling Swivel Stud
Many hunting rifles have a small metal stud under the fore-end. Most basic bipods clamp onto this stud.
2. Picatinny Or Weaver Rail
Tactical and modern rifles often have a rail system. Some bipods come with a clamp for these rails.
3. M-lok Or Keymod
These are modular attachment systems found on newer rifles. You may need an adapter to fit your bipod.
Here’s a quick comparison:
| Attachment Type | Common Use | Adapter Needed? |
|---|---|---|
| Sling Swivel Stud | Hunting rifles | No (usually direct fit) |
| Picatinny/Weaver Rail | Tactical rifles | Sometimes |
| M-LOK/KeyMod | Modern sporting rifles | Usually yes |
What You Need Before Attaching
Before you start, gather these items:
- The bipod (check the mounting style)
- Your rifle (unloaded)
- Screwdriver or Allen wrench (if required)
- Any mounting adapter (if your rifle needs one)
Safety tip: Always check that your rifle is unloaded and pointed in a safe direction before handling.
How To Attach A Bipod To Your Rifle?
The process can vary based on your rifle and bipod, but most follow these main methods.
Using A Sling Swivel Stud
- Locate the sling stud under your rifle’s fore-end.
- Open the bipod’s clamp by turning the locking wheel or pressing the lever.
- Slide the clamp over the stud until it locks in place.
- Tighten the clamp using the wheel or screw. Make sure it’s snug but not overtightened.
Using A Picatinny Or Weaver Rail
- Find the rail section under your rifle’s fore-end.
- Loosen the bipod’s rail clamp.
- Slide the clamp over the rail and position it.
- Tighten the clamp with the screw or lever.
Using M-lok Or Keymod
- Attach the adapter to your rifle’s M-LOK or KeyMod slots using the provided screws.
- Mount the bipod to the adapter (usually a rail or stud).
- Secure the bipod as you would for a rail or stud.
Are alien gear holsters worth it
How To Check If The Bipod Is Secure
After mounting, gently shake the bipod and rifle. There should be no movement between the bipod and the rifle. If there is, tighten the fitting more. Loose bipods can cause poor accuracy and even damage to the rifle.

Common Mistakes To Avoid
Many beginners make small errors when attaching a bipod. Watch out for these:
- Overtightening screws or clamps. This can damage the mounting point or strip the threads.
- Not using the right adapter. If you force a bipod onto the wrong attachment, it may not hold safely.
- Ignoring the balance point. Mount the bipod close to the rifle’s balance point for best stability.
- Forgetting about the sling. If you use a sling, choose a bipod that allows sling attachment or has a pass-through stud.
How To Choose The Right Bipod?
With so many options, picking the right bipod is important. Here are key things to consider:
1. Mounting System Compatibility
Make sure the bipod fits your rifle’s attachment point. Using adapters adds cost and sometimes reduces stability.
2. Height Adjustment
Bipods come in different height ranges. For prone shooting, 6–9 inches works best. For benchrest, 9–13 inches is common.
3. Swivel Feature
Some bipods allow the rifle to tilt for uneven ground. This is called a cant or swivel feature.
4. Weight
Lightweight bipods are easier to carry but may be less stable. Heavier ones offer more stability but add weight to your gear.
5. Durability
Look for strong materials like steel or aluminum.
A quick table to compare:
| Feature | Why It Matters |
|---|---|
| Height | Matches shooting position |
| Swivel/Cant | Handles uneven terrain |
| Weight | Affects carrying comfort |
| Material | Impacts strength and lifespan |

Practical Tips For Best Results
- Clean the attachment point before mounting. Dirt or oil can make the bipod slip.
- Practice folding and unfolding the bipod so you can do it quickly in the field.
- Carry the tools for tightening in your range bag.
- Check the fit after every session, especially if you use the bipod in rough terrain.
One insight many users miss: Most bipods have a forward bias. This means you should push the rifle gently forward into the bipod after setting up. This reduces movement when firing.
Another tip: If your bipod has rubber feet, check them often. Worn feet can slip on hard surfaces.
When To Remove The Bipod?
Bipods can add bulk. If you’re walking long distances or storing your rifle, consider removing it. Most bipods are quick-detach, so this takes only a few seconds.

Maintenance After Installation
Keep the bipod clean and dry. Lubricate moving parts if needed, but avoid getting oil on the attachment point. Tighten any screws or fittings after heavy use. Store the bipod in a padded case if you remove it.
Frequently Asked Questions
How Do I Know If My Rifle Needs An Adapter For A Bipod?
Check your rifle’s fore-end. If it has a sling stud, most basic bipods fit directly. If it has a rail or slot system (like Picatinny, M-LOK, or KeyMod), you may need an adapter. Always check the bipod’s packaging for compatibility information.
Can I Attach A Bipod Without Any Tools?
Some bipods use quick-release levers and do not need tools. Others, especially those with screws or adapters, require a screwdriver or Allen wrench. Having basic tools on hand is useful for any adjustment.
Is It Safe To Carry My Rifle With The Bipod Attached?
Yes, it is usually safe. However, the bipod can catch on gear or brush. If you walk through thick woods, consider folding or removing the bipod to avoid damage.
Will A Bipod Fit Air Rifles Or Rimfire Rifles?
Most bipods work on any rifle with the correct attachment point. Air rifles and rimfire rifles often have sling studs or rails, but check weight ratings—some lightweight rifles may not balance well with a heavy bipod.
Finally
Mounting a bipod is a small upgrade that brings big benefits to your shooting experience. By following these methods and tips, you’ll get a secure, reliable setup that makes every shot more controlled and comfortable.

Leave a Reply