Zeroing a red dot sight is one of the most important steps to make sure your shots land where you aim. Many shooters buy a red dot, install it, and head straight to the range, only to find their bullets miss the target.
Zeroing means adjusting the sight so the dot lines up with where your bullets actually hit. This process is not as hard as it may sound, but it does require patience and attention to detail. If you want your firearm to be accurate, you must learn how to zero your red dot sight properly.
This guide will walk you through every step, from setting up your gear to fine-tuning for maximum precision. You’ll also discover practical tips and common mistakes to avoid—things beginners often miss. Whether you’re using your red dot on a pistol, rifle, or shotgun, the principles stay the same.
Let’s break down the process so you can shoot with confidence.
Table of Contents
Understanding Red Dot Sights
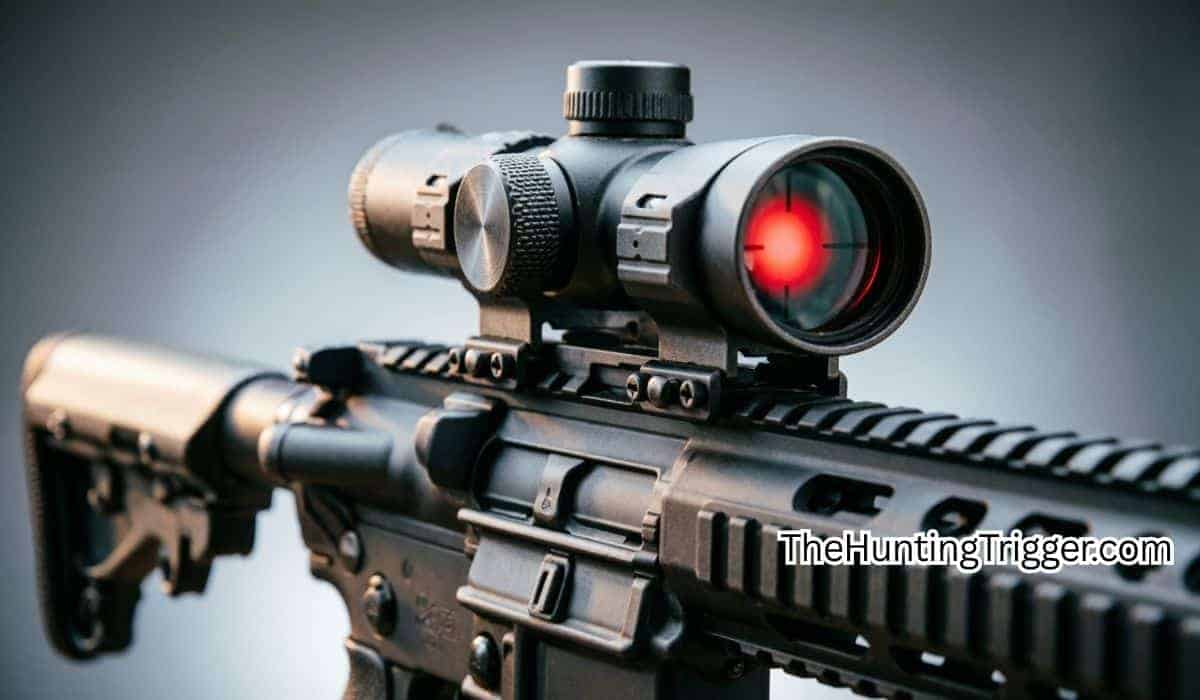
Before you start, it helps to know what a red dot sight is and why zeroing matters. A red dot sight is an optic that projects a red dot onto a lens, which you use to aim. Unlike iron sights, you focus on the target and the dot at the same time. This makes aiming faster and easier, especially for moving targets.
However, the sight is only as good as its setup. If the dot and the bullet impact are not matched, you will miss—no matter how steady your aim. Zeroing fixes this problem by aligning the dot with the actual point of impact.
What You Need To Zero A Red Dot Sight?
You don’t need a lot of fancy gear to zero a red dot, but having the right tools makes the process smoother. Here’s what you should have:
- Firearm with mounted red dot sight
- Ammunition (use the type you plan to shoot most)
- Stable rest or sandbags (for rifles)
- Target with a clear bullseye
- Adjustment tool (often a small screwdriver or the tool that comes with your sight)
- Marker or tape (to mark hits on target)
- Range with safe shooting lanes
- Eye and ear protection
If you use a pistol, a bench rest or shooting bag helps a lot. For rifles, a bipod or shooting bags keep things steady.

Choosing The Right Distance
One of the most common questions is, “At what distance should I zero my red dot sight?” The answer depends on your gun and how you plan to use it. Here are the most popular options:
| Firearm Type | Common Zero Distance | Use Case |
|---|---|---|
| Rifle (AR-15, etc.) | 50 yards/meters | Home defense, range, general use |
| Pistol | 15-25 yards/meters | Self-defense, competition |
| Shotgun | 25 yards/meters | Turkey hunting, slugs |
For most rifle shooters, a 50-yard zero is the best all-around choice. It balances close and medium-range accuracy. For pistols, 15 or 25 yards is common, since most defensive or competition shots happen at short range.
Step-by-step: How To Zero A Red Dot Sight
Let’s get practical. Here’s how you zero your red dot sight, step by step.
1. Mount The Sight Properly
Before you start adjusting, make sure your sight is securely mounted. Loose screws or a shaky mount will ruin your zero. Use the correct torque (usually provided by the sight manufacturer). Recoil can loosen things over time, so check tightness before each session.
2. Start Close
Set your target at a short distance first—10 or 15 yards/meters works well. This makes it easier to spot hits and prevents wild shots from missing the target completely. Once you’re close to zero, move back to your main zero distance.
3. Get Stable
Rest your gun on a bag, bipod, or bench. The more stable you are, the less your own movement will affect the shot. Don’t zero a red dot offhand unless you have no other choice—human wobble will give you a false zero.
4. Fire A Group
Load your firearm and fire three shots at the center of the target, aiming at the same spot each time. Don’t adjust between shots. This group will show your starting point.
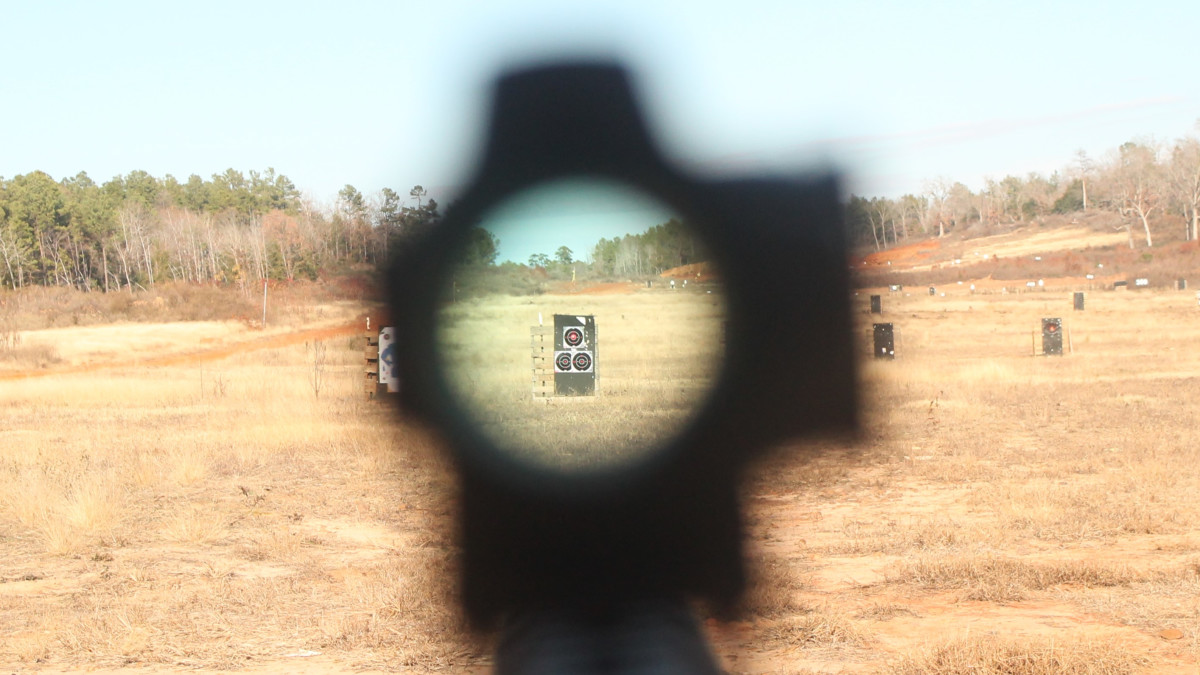
5. Check Your Group
Walk to the target and see where your shots hit. Mark the group with a marker or circle it. Don’t worry if it’s not centered—this is just your baseline.
6. Measure And Adjust
Figure out how far (in inches or centimeters) your group is from the bullseye, both left/right and up/down.
Most red dot sights adjust in MOA (minutes of angle) or milliradians (MRAD). One MOA is about 1 inch at 100 yards. At 50 yards, 1 MOA is about 0.5 inches.
Your sight will have windage (left/right) and elevation (up/down) dials, usually marked with “clicks. ” Each click moves the dot a certain amount. Check your manual for the click value.
Example: If your group is 2 inches low and 1 inch right at 50 yards, and your sight moves 0.5 inches per click, you’ll need 4 clicks up and 2 clicks left.
Make the adjustments, then shoot another group.
7. Repeat Until Centered
Fire another group and check the results. Keep adjusting until your group lands in the center of the target. Take your time—rushing causes mistakes.
8. Confirm At Your Zero Distance
Move your target to your main zero distance (e. g. , 50 yards for rifles). Fire another group and fine-tune as needed. Environmental factors like wind can affect longer shots, so do this on a calm day if possible.
9. Lock And Mark Your Settings
Once you’re happy, lock the adjustment dials if your sight allows. Some shooters like to mark the dial positions with a paint pen, so they can quickly return to zero if the sight is moved or adjusted later.
10. Test With Different Ammo
If you use different types of ammo (for example, target vs. defense rounds), test your zero with each. Bullet weight and speed can change your impact point slightly. For best accuracy, always zero with the ammo you plan to use most.
Red Dot Zeroing: Practical Example
Suppose you have an AR-15 with a new red dot sight. Here’s how a typical zeroing session looks:
- You set up a target at 15 yards, rest the rifle, and fire three shots. The group hits 2 inches low and 1 inch left.
- Your sight adjusts 0.5 inches per click at this distance.
- You dial 4 clicks up and 2 clicks right.
- Fire another group—this time, it’s almost centered but still 0.5 inches low.
- Adjust 1 more click up.
- Next group lands in the bullseye. Move the target to 50 yards.
- At 50 yards, fire three shots. Group is 1 inch right and 0.5 inches low.
- Make 2 clicks left, 1 click up. Fire again—bullseye!
- Lock the dials and take a few shots standing, kneeling, and prone to make sure the zero holds in different positions.
How do laser bore sight cartridges work
Common Mistakes And How To Avoid Them
Many shooters make small errors that can waste time or lead to a poor zero. Here are some things to watch for:
- Not using a stable rest: Even small movements can cause inaccurate adjustments. Always stabilize your firearm.
- Chasing single shots: Don’t adjust the sight after each shot. Always fire a group and adjust to the center of the group, not a single hole.
- Ignoring click value: Not all sights use the same adjustment per click. Read your manual to avoid over- or under-correcting.
- Using different ammo: Zero with the ammo you plan to shoot. Different bullets can hit in different spots.
- Not locking adjustments: If your sight’s dials move freely, you can lose your zero over time.

Moa, Mrad, And Clicks: What Do They Mean?
Understanding how adjustments work will save you frustration. Most red dot sights use MOA or MRAD for adjustments.
| Adjustment Type | Common Value | Movement at 50 Yards |
|---|---|---|
| 1 MOA | 1 inch at 100 yards | 0.5 inch |
| 0.5 MOA (per click) | 0.5 inch at 100 yards | 0.25 inch |
| 0.1 MRAD | 0.36 inch at 100 yards | 0.18 inch |
Always check your sight’s manual for exact values.
Extra Tips For A Perfect Zero
Here are two insights many beginners overlook:
- Let the barrel cool: Heat from firing can change your point of impact. Wait a minute between groups for consistent results.
- Parallax matters: Some budget red dots have parallax error, meaning the dot appears to move if your head shifts. Always keep your eye in the same position for each shot.
And one more: Environmental factors like wind, lighting, and even the color of your target can change how you see the dot or where bullets land. Try to zero in stable, repeatable conditions.
Keeping Your Zero: What Can Move It?
Once your red dot is zeroed, you want it to stay that way. But bumps, drops, or even temperature changes can affect your zero. After any hard impact or if you remove and reinstall your sight, check your zero before relying on it.
Some shooters keep a small zero confirmation target in their range bag. One quick group at the start of each session tells you if your zero has shifted.
When To Re-zero Your Red Dot Sight?
You don’t need to re-zero every time you shoot, but you should check after:
- Changing ammo type or weight
- Cleaning or modifying your firearm
- Remounting the sight
- Traveling with your firearm (especially air travel)
- Noticing a sudden change in accuracy
Regular checks keep your shots on target.
Frequently Asked Questions
How Long Does It Take To Zero A Red Dot Sight?
With preparation, you can zero most red dot sights in about 30 minutes. If you’re new, allow up to an hour. The key is not to rush—take your time for best results.
Can I Zero A Red Dot Without Shooting?
Some people use bore sighting tools to get close, but live fire is always needed for a true zero. Bore sighting saves time and ammo, but always finish with real shots.
What Distance Is Best For Zeroing A Red Dot On A Pistol?
Most shooters choose 15 to 25 yards/meters for pistols. If you shoot competitions, check the typical stage distances. For self-defense, 15 yards is a practical choice.
Do I Need To Re-zero After Changing My Battery?
Usually, no. Changing the battery in a quality red dot sight does not affect the zero. But if you remove the sight from the gun, you should always check your zero afterward.
Finally
Zeroing a red dot sight is one of the best skills you can learn for accurate shooting. Take your time, follow the steps, and you’ll have confidence that your shots will go exactly where you want. With practice, zeroing becomes second nature—and your shooting will improve, too.
Leave a Reply