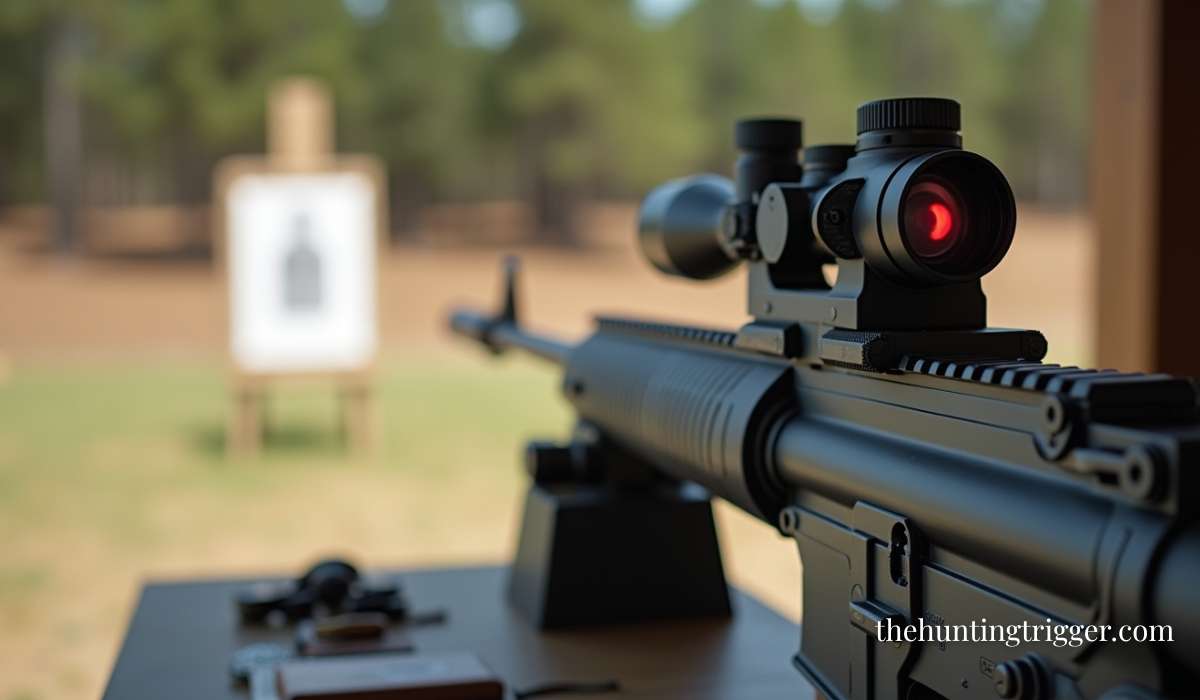
Many shooters believe you have to fire rounds to sight in a red dot scope. But what if you want to save money on ammo, or you’re in a place where you cannot shoot? Sighting in your red dot without firing is possible. It takes patience, the right tools, and careful adjustments. This method is popular among both beginners and experienced shooters who want efficiency and precision. Let’s explore how you can zero your red dot scope—without pulling the trigger.
Table of Contents
Why Sight In A Red Dot Scope Without Shooting?
Zeroing your optic without firing has several benefits. First, it saves you ammunition, which can be expensive or hard to find. You also avoid noise and recoil, making it ideal for indoor work or crowded areas. Hunters often pre-zero at home, then fine-tune at the range. Competitive shooters use this method to save time during matches.
This approach also helps if you recently mounted your red dot and want to check alignment before heading to the range. It’s essential for situations where shooting is not allowed, such as urban areas, or when teaching new shooters who need a gentle introduction.
Tools You Need For Zeroing Without Shooting
Before you start, gather the right equipment. Having everything ready will make the process smoother.
- Boresighter: The most important tool. There are two main types:
- Laser boresighter (in-chamber or muzzle-mounted)
- Optical (collimator) boresighter
- Gun vise or shooting rest: Keeps your firearm stable.
- Targets: A clear, visible target (printed or drawn).
- Allen wrenches or scope tools: For adjustments.
- Measuring tape: For setting a precise distance.
- Good lighting: Helps you see clearly.
- Protective gear: Even though you’re not shooting, always handle firearms safely.
Many beginners skip the gun vise or rest, but stability is critical. Even a slight movement can throw off your adjustments.
Step-by-step Guide To Sighting In Without Firing
Follow these steps in order for best results.
1. Choose A Safe, Well-lit Location
Pick a spot where you can handle your firearm safely. A garage, basement, or dedicated gun room works well. Make sure the muzzle points in a safe direction, and double-check that your firearm is unloaded.
2. Set Up Your Target
Place your target at a known distance. For most red dots, start at 25 yards (about 23 meters). If space is limited, 10 yards can work for initial alignment, but you’ll need to fine-tune later at the correct range.
3. Secure The Firearm
Lock your gun in a vise or rest. If you don’t have one, support it with bags or pillows so it can’t move.
4. Insert The Boresighter
Choose the right boresighter for your gun.
- Laser boresighter: Insert it into the chamber or attach to the muzzle.
- Optical boresighter: Attach to the muzzle following manufacturer instructions.
A common mistake is not seating the boresighter fully. Double-check it’s secure before proceeding.
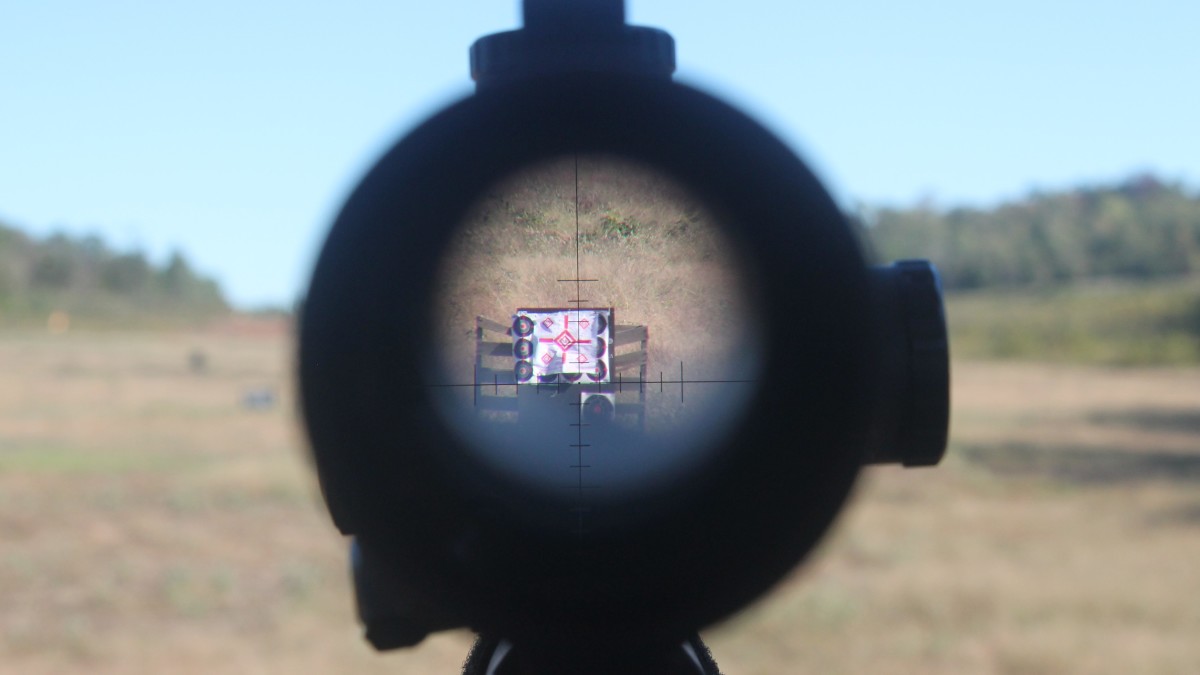
5. Align The Bore With The Target
Look through the barrel (the bore) from the back of the gun. Center the target in the bore. With a laser boresighter, the red or green dot should show exactly where your barrel points. For optical types, the grid shows alignment.
6. Adjust The Red Dot Scope
Now, look through your red dot.
- Move the windage (side-to-side) and elevation (up-and-down) adjustments so the red dot moves to the same point as the laser or bore view.
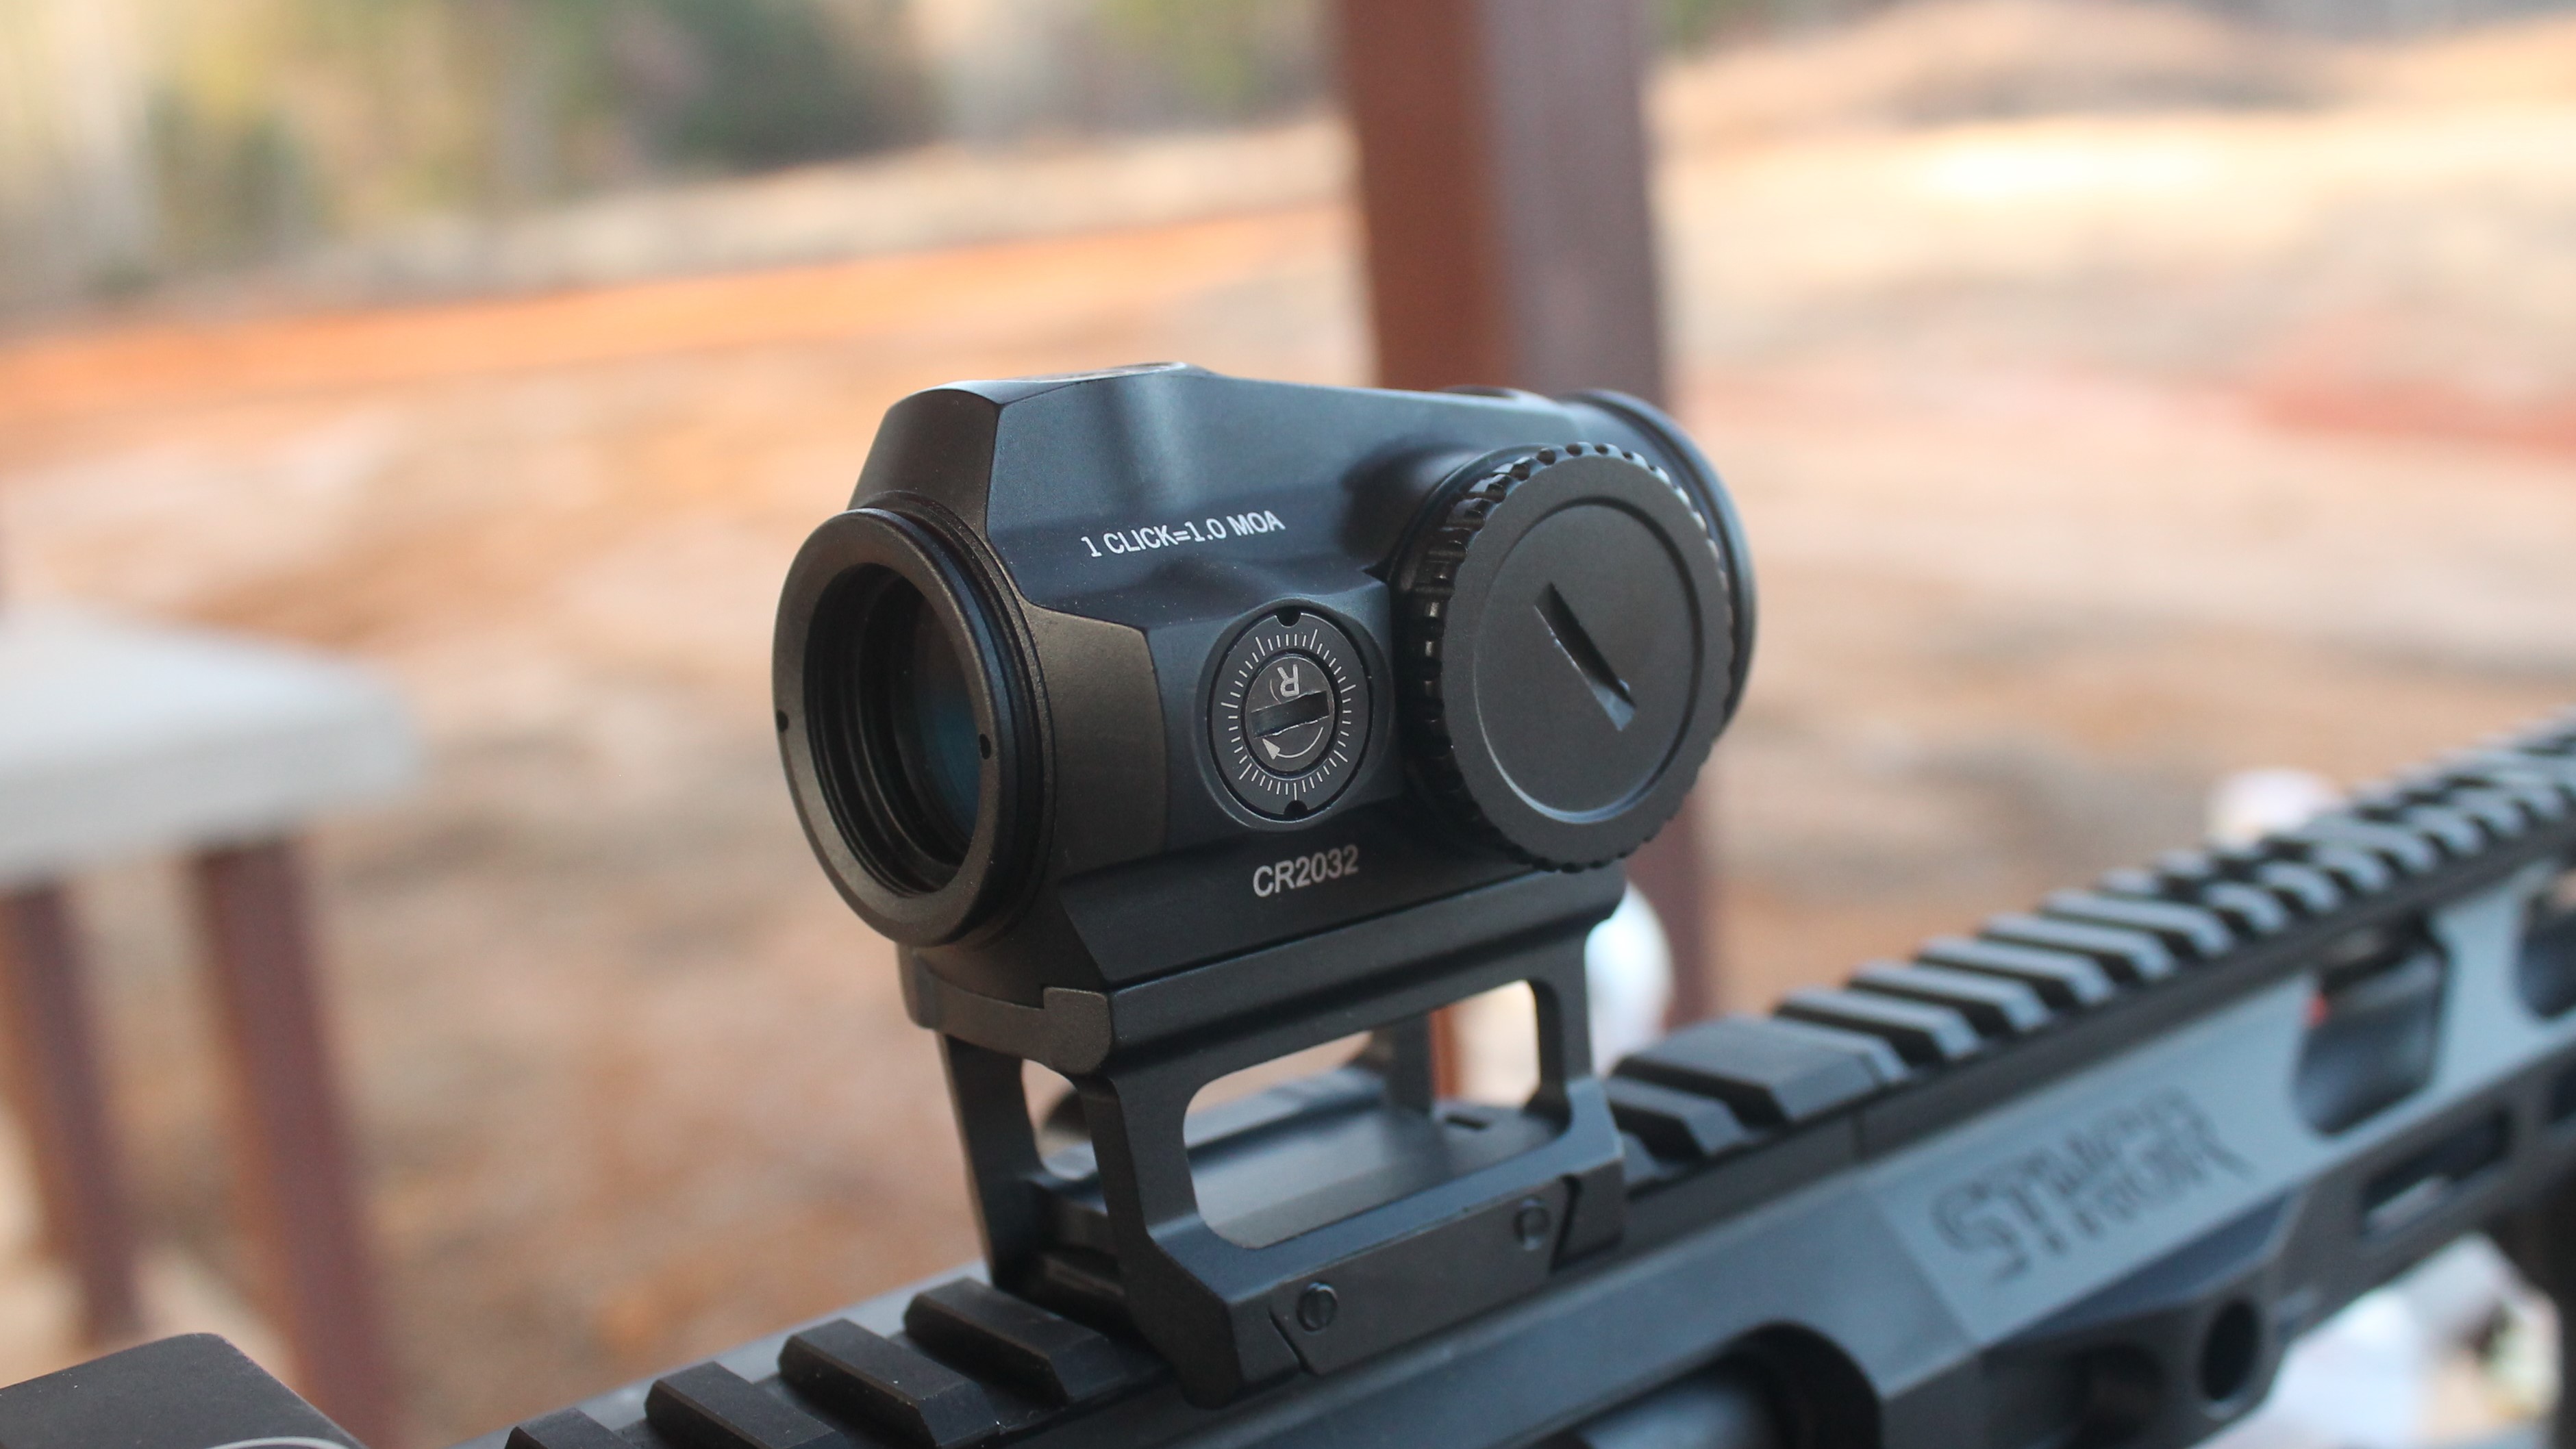
- Use small movements. Most red dots adjust in MOA (minutes of angle)—typically 1 click = 1 MOA = about 1 inch at 100 yards. At 25 yards, 1 MOA is about 0.25 inch.
- For example, if your dot is 2 inches right of the laser at 25 yards, move it 8 clicks left.
Take your time. Even a small misalignment can cause big misses at longer distances.
7. Recheck Alignment
After adjustment, check everything again. Move your head slightly—does the dot still match the laser on target? Parallax is low on most red dots, but this step catches errors. Repeat the process if you changed the mounting screws or made big adjustments.
8. Remove The Boresighter And Secure Everything
Take out the boresighter. Tighten all scope and mount screws to the manufacturer’s recommended torque. Loose screws are a hidden cause of zero shift.
9. Prepare For Live-fire Fine Tuning
While you’re now very close to zero, you’ll need to confirm with live fire when possible. But if you followed these steps, you’ll be “on paper” and save ammo.
Common Mistakes To Avoid
- Not leveling the firearm: If your gun isn’t level, your adjustments will be off.
- Ignoring parallax: Move your head slightly while looking through the optic; the dot should stay on the same spot.
- Improper boresighter use: Make sure it’s the correct size and fully seated.
- Skipping screw checks: Loose mounts ruin accuracy.
- Not measuring distance: Guessing range leads to wrong adjustments.
Many new shooters trust the boresighter alone and skip live-fire confirmation. That’s a mistake: always check with real shots when you can.
Comparing Boresighting Methods
Here’s a quick look at the pros and cons of different boresighting tools:
| Method | Accuracy | Ease of Use | Cost | Best For |
|---|---|---|---|---|
| Laser Boresighter | High | Easy | Medium | Most users |
| Optical Boresighter | Medium | Moderate | Low | Rifles, old scopes |
| Visual (Barrel to Dot) | Low | Hard | Free | Experienced shooters |
Laser boresighters are the most popular today. They work for both rifles and handguns and require little experience.
Understanding Red Dot Adjustments
Red dots adjust with windage (left/right) and elevation (up/down) turrets. Most use MOA clicks. Here’s a reference for typical adjustments:
| Distance | 1 MOA Movement | 1 Click (Typical) |
|---|---|---|
| 25 yards | 0.26 inch | 0.26 inch |
| 50 yards | 0.52 inch | 0.52 inch |
| 100 yards | 1 inch | 1 inch |
This helps you calculate how many clicks to move the dot to match your boresight point.
Practical Tips For Better Zeroing
- Use a contrasting target color for the laser dot.
- If using a laser boresighter outdoors, do so in shade—laser dots are hard to see in bright sunlight.
- Always check your mount and rings for tightness before and after.
- Record your adjustments in a notebook. This makes future zeroing easier.
- For pistols, remember that slide-mounted optics may shift slightly after the first shots. Always confirm at the range.
Many shooters overlook that indoor boresighting can be affected by lighting and distance. If boresighting at 10 yards, your adjustments will be different than at 25 yards.
Limitations Of No-shoot Zeroing
This method is very accurate, but not perfect. Barrel harmonics, bullet type, and recoil can cause slight shifts when you fire live rounds. Expect to make small tweaks at the range.
If your red dot is for defensive use, always do a live-fire check. For hunting or competition, a no-shoot zero saves time, but should be verified before the event.
When Should You Re-zero?
You should re-zero your red dot if:
- You drop your firearm or optic.
- You change mounts, rings, or location.
- You switch ammo types.
- You notice impacts drifting off center.
Many shooters only re-zero once a year. But checking every few months ensures reliability.
Real-world Example
Let’s say you mount a new red dot on an AR-15. You set your target at 25 yards, clamp the rifle in a vise, and insert a chamber laser boresighter. The laser dot appears 1.5 inches below and 1 inch left of your red dot. You adjust the optic: 6 clicks up, 4 clicks right. After removing the boresighter, you are ready to confirm at the range. Most users will be “on paper” with their first shot, saving time and ammo.
When To Use Each Method?
Not sure which tool to use? Here’s a quick comparison:
| Situation | Best Method | Why |
|---|---|---|
| New Scope Mounting | Laser Boresighter | Fast, accurate, works indoors |
| Adjusting Old Rifle | Optical Boresighter | Good for classic scopes |
| No Tools Available | Visual Alignment | Better than nothing |
Extra Insight: Factors Beginners Often Miss
Many beginners don’t realize that barrel length and mount height can change the relationship between your bore and optic. Always check manufacturer instructions for recommended zeroing distance. Another subtle point: environmental factors like room temperature can affect laser alignment slightly—allow your firearm and tools to adjust to indoor temperature before starting.
How Sighting Without Shooting Compares To Traditional Zeroing?
Zeroing without firing is not a replacement for live-fire. It’s a fast and cost-effective way to get close to zero, but real bullets behave differently. Traditional zeroing includes factors like bullet drop, recoil, and barrel harmonics. Use both methods together for the best results.
Frequently Asked Questions
How Accurate Is Sighting In A Red Dot Without Shooting?
It’s typically accurate enough to get your shots on paper at 25 yards. Expect to make small adjustments with real ammunition for a perfect zero.
Can I Use This Method For Pistols And Rifles?
Yes, you can use laser or optical boresighters for both. Just remember that mounting systems and barrel lengths may affect results.
What If My Laser And Red Dot Do Not Align?
Double-check your mounting screws and that your boresighter is fully seated. If they still don’t align, you may need to remount your optic.
Do I Need A Special Target For Boresighting?
No, but a target with a bold center dot or cross makes alignment easier, especially with a laser boresighter.
How Often Should I Check My Zero?
Check after any bump, drop, or change in mounts, and at least once per season for hunting or regular use.
Finally
Sighting in a red dot scope without shooting is a smart way to save time, ammo, and frustration. With the right tools and careful setup, you’ll start closer to perfect zero and enjoy better results at the range. Remember, always confirm with live fire when it matters most.
Leave a Reply