Sighting in a red dot on a pistol can be a game-changer for accuracy and speed. Many shooters, whether new or experienced, want to get the most out of their red dot sights, but the process can be confusing if you haven’t done it before. Using a red dot offers a clear aiming point and faster target acquisition, but the sight must be properly zeroed, or your shots will not hit where you aim. Let’s walk through every essential step, from mounting to fine-tuning, so you can trust your aim and shoot with confidence.
Table of Contents
Understanding Red Dot Sights On Pistols
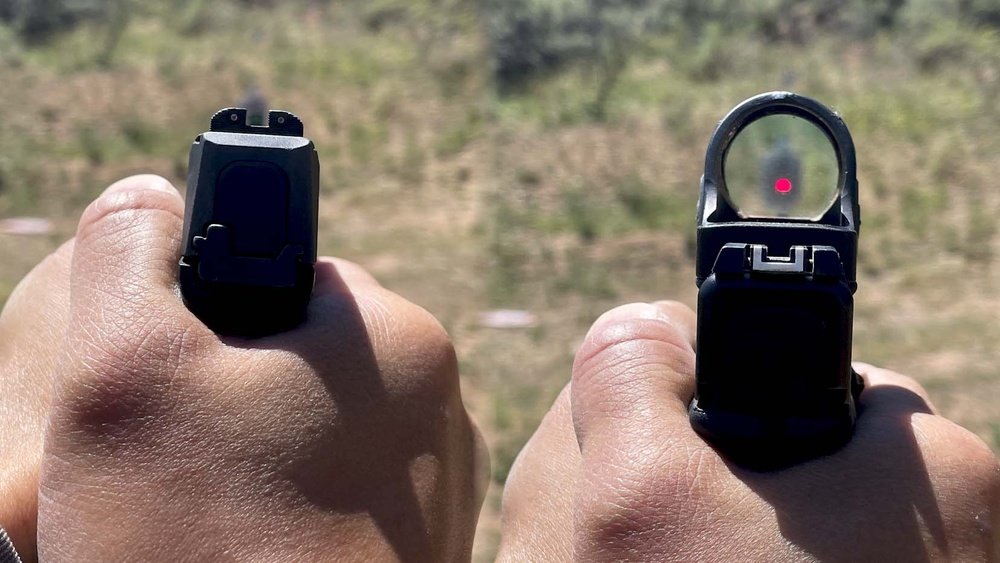
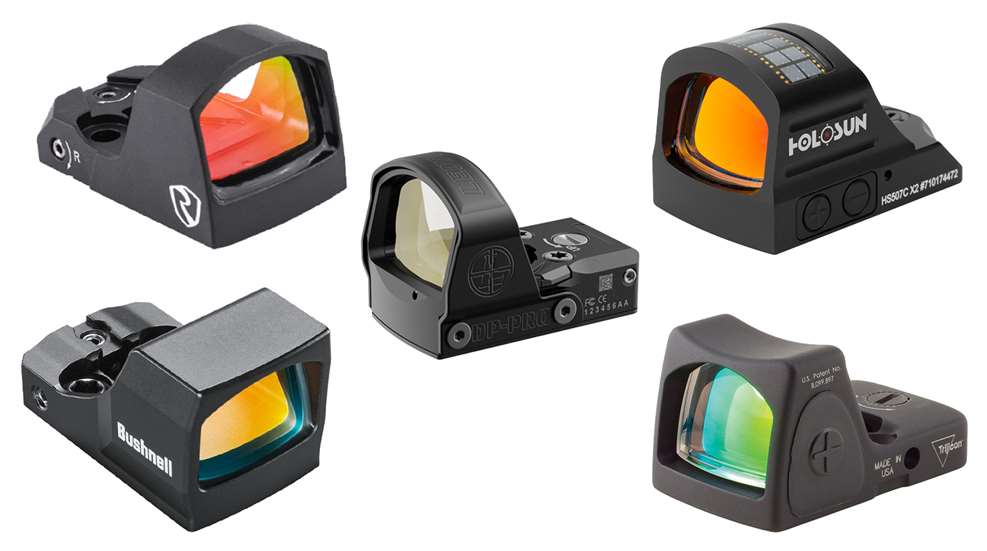
Red dot sights are becoming more popular every year. These optics project a small illuminated dot onto a lens, giving you a simple aiming point. You line up the dot with your target, and that’s where the bullet should go—if the sight is properly zeroed. People use red dots for self-defense, competition shooting, and even hunting.
There are a few reasons why shooters prefer red dots over iron sights:
- Faster target acquisition: You focus on the target, not the front sight.
- Easier in low light: The dot stays visible in many lighting conditions.
- Better accuracy: The clear aiming point helps reduce aiming errors.
But before you enjoy these benefits, you need to sight in your red dot. That means adjusting it so the point of impact matches the dot at a set distance.
What You Need Before Sighting In?
Preparation saves time and avoids frustration. Here’s what you should have ready:
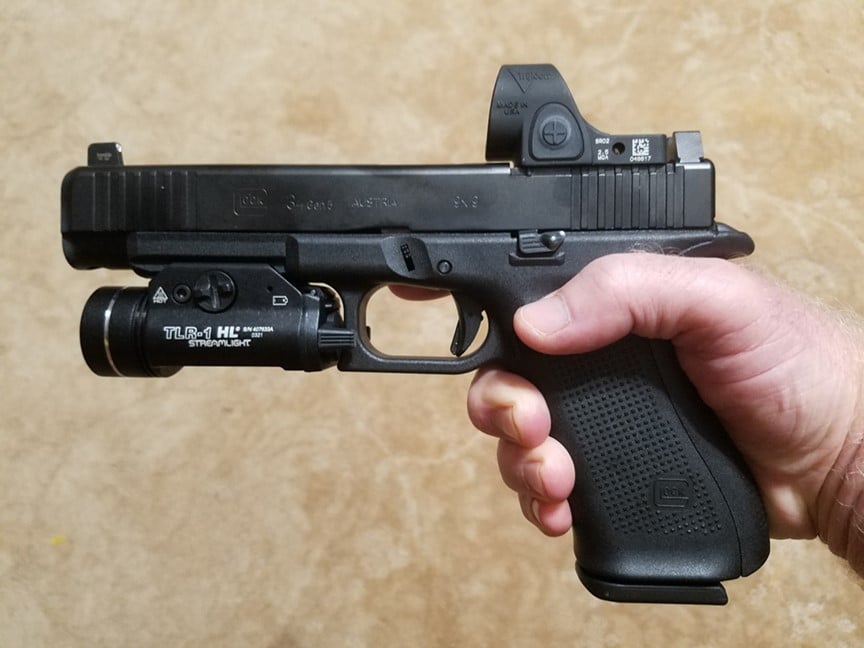
- Your pistol with the red dot properly mounted (follow manufacturer’s instructions for mounting).
- The correct tools: Usually a small screwdriver or Allen wrench for windage and elevation adjustments.
- A stable shooting rest or sandbags: Stability is key to consistent results.
- The right ammo: Use the ammunition you plan to use most often.
- A target: Use a clear, visible target with a defined aiming point.
- Hearing and eye protection: Safety is always first.
Make sure your red dot is securely mounted. Loose mounting is a common reason for poor zeroing results.
Basic Concepts: Zeroing And Adjustments
Zeroing a red dot means adjusting it so your shots hit exactly where the dot is placed at a chosen distance. Most shooters zero at 10, 15, or 25 yards. Your choice depends on your main use for the pistol.
Red dot sights have two main adjustments:
- Windage: Moves the dot left or right.
- Elevation: Moves the dot up or down.
Each click or turn of the adjustment screw moves the dot a specific amount, usually measured in MOA (Minute of Angle). For example, 1 MOA at 25 yards moves the point of impact about 0.26 inches.
Here’s a quick reference for common zero distances:
| Distance (yards) | Common Use | POI Shift per 1 MOA |
|---|---|---|
| 10 | Close defense, fast draw | 0.10 in |
| 15 | General use, target shooting | 0.16 in |
| 25 | Competition, precise shooting | 0.26 in |
Step-by-step: How To Sight In Your Red Dot
1. Safe Setup And First Shots
Find a safe, well-lit range. Set your target at your chosen zero distance (commonly 15 or 25 yards for pistols). Make sure your pistol and red dot are clean and functioning.
- Rest the pistol on a stable surface.
- Fire a slow, careful 3-shot group aiming at the center of the target.
- Use the same hold and trigger pull for each shot.
Beginners often rush this step. Take your time—consistency is more important than speed.
2. Check Your Shot Group
After your first group, check where the shots hit compared to your aiming point.
- If the group is tight (all shots close together), you are ready for adjustments.
- If the group is wide or scattered, check your grip and trigger control before adjusting the sight. Erratic groups make sighting in impossible.
3. Make Adjustments
Now, adjust your red dot:
- If shots are left of the aiming point, adjust the windage to the right.
- If shots are right, move windage to the left.
- If shots are high, lower the elevation.
- If shots are low, raise the elevation.
Most red dots have clicks for each movement. The manual tells you how many MOA each click moves. For example, if your sight moves 1 MOA per click and your group is 1 inch low at 25 yards, adjust up about 4 clicks (because 1 MOA = 0.
26 in at 25 yards).
A typical adjustment sequence:
| Situation | Adjustment Direction | Example Clicks (25 yards) |
|---|---|---|
| 1″ Left of center | Windage Right | 4 clicks |
| 1.5″ Low | Elevation Up | 6 clicks |
| 0.5″ High | Elevation Down | 2 clicks |
4. Fire Another Group
Return to your shooting position. Fire another slow, careful 3-5 shot group at the same aiming point. Check where these shots land.
- If the group is now centered, you are nearly finished.
- If not, repeat the adjustment process.
5. Fine-tune Your Zero
Once your groups are on target, make smaller adjustments as needed. Use 1 or 2 clicks at a time for fine-tuning.
- Fire a final group to confirm.
- If you plan to use the pistol for self-defense, test with the exact ammo you will carry.
- For competition, use your match ammo.
Non-obvious tip: Do not chase single outlier shots. Only adjust based on the center of your shot group, not a flyer caused by a bad trigger pull.
6. Confirm Zero With Different Positions
Shoot off-hand (without a rest) and from different positions if possible. Sometimes, your point of impact can change when shooting unsupported.
- If you see a big shift, check your grip and stance.
- Minor shifts are normal but should be small.
7. Secure Your Settings
Once you are satisfied, ensure all screws on the red dot mount are tight. Mark the screws with a paint pen if you want to quickly see if they loosen later. Some shooters use thread locker (blue Loctite) to prevent movement.

Common Mistakes To Avoid
Many shooters make avoidable errors when sighting in a red dot:
- Not using a stable rest: Results will be inconsistent.
- Adjusting after every shot: Always shoot a group before making changes.
- Not using the same ammo: Different loads can hit different spots.
- Chasing single shots: Adjust for the group, not one outlier.
- Forgetting to check mount tightness: A loose mount ruins zero.
Remember, patience and consistency matter more than speed.
How Red Dots Compare To Iron Sights For Zeroing?
Some shooters wonder if red dots are easier or harder to zero than traditional iron sights. Here’s a quick comparison:
| Feature | Red Dot Sights | Iron Sights |
|---|---|---|
| Aiming Speed | Faster | Slower |
| Low Light Use | Very good | Poor |
| Adjustment Process | More precise | Harder, may need tools |
| Learning Curve | Steep at first | Familiar to most |
Non-obvious insight: Red dots can show parallax error at very close ranges (under 5 yards). The dot may appear slightly off, but your shot will still hit close to the target if the sight is zeroed at 15–25 yards.
Practical Tips For Best Results
- Use a large, high-contrast target: Easier to see your groups.
- Take your time: Rushing leads to errors.
- Keep your hands steady: Even small movements affect accuracy.
- Record your adjustments: Write down your settings so you can return to them if needed.
- Practice regularly: Familiarity with your sight and pistol improves performance.
If you wear prescription glasses, test with and without them. Some people see the dot better one way or the other.
When To Re-zero Your Red Dot?
You may need to re-zero your red dot sight if:
- The sight was removed and reinstalled.
- You change to a different ammo load.
- The pistol experiences a hard impact.
- You notice accuracy dropping or groups shifting.
Regular checks ensure your zero remains true, especially if you carry the pistol for self-defense.
Maintenance For Consistent Accuracy
A well-maintained sight holds zero longer. Here’s what to do:
- Clean the lens: Dust and debris can block the dot.
- Check battery life: Most red dots use small batteries; replace them before they die.
- Inspect mounting screws: Tighten them if needed.
- Store in a safe place: Avoid impacts or drops.
Frequently Asked Questions
How Often Should I Check My Red Dot Zero?
Check your zero every few months, and after any impact or major cleaning. If you use your pistol for self-defense, check more often to ensure reliability.
What Is The Best Distance To Zero A Pistol Red Dot?
Most shooters choose 15 or 25 yards. For self-defense, 10–15 yards is common. For competition or target shooting, 25 yards is popular. Pick the distance that matches your main use.
Can I Sight In A Red Dot Without Shooting?
You can get close by bore sighting (aligning the sight with the barrel), but real zeroing requires shooting live ammo. Bore sighting is only a starting point.
Why Are My Shots Still Off After Zeroing?
Check for loose mounting screws, inconsistent grip, or using different ammo. Also, make sure you are not adjusting for single flyer shots instead of the center of a group.
Do I Need To Use Special Ammo For Zeroing?
Use the same ammunition you plan to use most often. Different bullet weights and speeds can change your point of impact.
Finally
Sighting in your red dot may take patience, but it pays off every time you shoot. Follow these steps, avoid common mistakes, and you’ll enjoy the speed and accuracy that red dot sights offer. With practice, your pistol and red dot will become a reliable team, ready for anything.
Leave a Reply