Drilling and tapping a shotgun receiver is a project that attracts many gun owners who want to add scope mounts, red dot sights, or other accessories to their firearm. Doing this task at home can save money and offer a personalized touch, but it requires the right tools, steady hands, and a careful approach.
Mistakes can damage your receiver or even make the shotgun unsafe. This guide will walk you through each step, from choosing tools to finishing the job, with clear explanations and practical tips for every level of experience.
Table of Contents
Understanding Drilling And Tapping
Before you begin, it’s important to know what drilling and tapping actually means. Drilling is creating a hole in metal using a drill bit, while tapping is cutting threads inside that hole so a screw or bolt can fit. On a shotgun receiver, this lets you install accessories that need to be firmly attached.
Most shotguns do not come with pre-drilled and tapped receivers, especially older or basic models. So, doing this process yourself allows you to customize your shotgun for hunting, sport shooting, or home defense. However, it’s not just about making holes — you need to ensure they are straight, properly sized, and precisely located.
Safety First
Working with firearms always demands strict safety. Here are essential rules you must follow:
- Unload the shotgun completely. Double-check the chamber and magazine to ensure no ammunition is present.
- Remove the barrel and other detachable parts if possible. This makes handling safer and gives better access.
- Wear safety glasses and gloves to protect your eyes and hands from metal shavings and tools.
- Work in a clean, well-lit area with a solid workbench.
Never skip these steps. Even experienced gunsmiths have suffered injuries from ignoring basic safety.
Tools And Materials Needed
Having the right equipment is crucial. Using poor-quality tools can ruin your receiver or produce weak threads. Here’s what you’ll need:
- Electric drill (preferably a drill press for better control)
- Quality drill bits (hardened steel, proper size for the screw you plan to use)
- Tapping set (proper size for the threads you need)
- Vise with padded jaws (to hold the receiver without scratching)
- Cutting oil (for lubrication and cleaner cuts)
- Center punch (to mark hole locations)
- Scribe or marker (for precise layout)
- Calipers or ruler (for accurate measurements)
- Thread locker (like Loctite, for final assembly)
- Compressed air or brush (for cleaning shavings)
If you don’t have a drill press, you can use a hand drill, but precision will be harder. Many beginners underestimate how much easier and safer a drill press makes this job.
Planning The Layout
Rushing into drilling is a common mistake. First, plan where you want the holes. This is vital because a misplaced hole can weaken the receiver or interfere with internal parts.
- Consult the accessory’s instructions (scope mount, rail, etc.) For the recommended hole pattern.
- Check the thickness of the receiver. Most shotgun receivers are thin, so you have little margin for error. Avoid drilling into weak spots or thin walls.
- Mark the spots with a scribe or marker.
- Double-check alignment using the accessory itself as a template if possible.
A great tip: Always measure twice and drill once. Many professionals even dry-fit the accessory and mark the holes with a punch through the actual mount.

Securing The Receiver
Stability is key. Place the receiver in a padded vise to avoid movement. If the receiver wiggles or vibrates, the drill bit can wander and ruin the hole.
- Pad the vise jaws with leather, rubber, or wood to prevent scratches.
- Mount the receiver so the top surface is level and flat.
- Check that the marked spots are visible and accessible.
Some gun owners try to hold the receiver by hand, but this almost always leads to mistakes. Even a tiny slip can cause a crooked hole.
Center Punching
A center punch creates a small dimple in the exact spot you’ll drill. This keeps the drill bit from “walking” or sliding off the mark.
- Place the punch tip on the mark.
- Tap it gently with a hammer to make a clear dimple.
This simple step is often skipped by beginners, leading to off-center or angled holes.
Drilling The Holes
Now comes the critical drilling step. Use the correct drill bit size for the tap you’ll use later. For most shotgun scope mounts, the common screw is 6-48 or 8-40. Always check the mount’s instructions.
Drilling tips:
- Start with a smaller pilot hole (about 1/16″ or 1.5mm). This makes the final drilling more accurate.
- Apply cutting oil to the drill bit and receiver. This keeps metal cool and reduces burrs.
- Drill slowly and steadily. Let the bit do the work; don’t force it.
- Back the bit out often to clear chips.
- Check depth frequently. Most shotgun receivers are only 2-4mm thick. Going too deep can damage the inside.
A drill press with a depth stop is ideal. If using a hand drill, consider wrapping tape around the bit as a depth marker.
Tapping The Threads
After drilling, you need to cut threads for the screws. This is called tapping.
- Select the correct tap for your screw size (e.g., 6-48 or 8-40).
- Apply more cutting oil to the tap and hole.
- Insert the tap carefully and turn slowly, keeping it perfectly straight.
- Turn the tap clockwise 1-2 turns, then back it out half a turn to break chips.
- Continue until the tap bottoms out, but don’t force it.
A common mistake is tapping too fast or at an angle, which creates weak or damaged threads. If you feel resistance, back out and clear chips before continuing.
Cleaning And Inspecting
After tapping, clean the holes to remove all metal shavings. Use compressed air or a small brush.
- Inspect each hole with a flashlight. Look for clean, sharp threads and no burrs.
- Test fit a screw to check the threads. It should turn smoothly by hand.
If the screw does not fit or feels loose, you may need to re-tap the hole or use a thread repair kit.
Installing The Accessory
Now you’re ready to attach the accessory (scope base, rail, etc.):
- Align the mount over the holes.
- Apply a small drop of thread locker to each screw. This prevents loosening from recoil.
- Insert screws and tighten gently. Do not overtighten, as this can strip the threads in the thin receiver.
If everything fits well, your drilling and tapping have been successful.
Common Mistakes And How To Avoid Them
Drilling and tapping may seem simple, but there are pitfalls even experienced gun owners can fall into.
- Using the wrong drill/tap size — Always match the tap and drill bit to the accessory’s screw size.
- Skipping layout or measuring steps — Rushing leads to poorly placed holes or crooked mounts.
- Drilling too deep — You can damage the receiver or create a hole inside the action.
- Not using enough cutting oil — This can cause bits or taps to break, leaving hard-to-remove fragments in the hole.
- Forgetting to use a center punch — Leads to off-center holes and poor thread quality.
- Not cleaning shavings — Metal bits left inside can cause malfunctions or rust.
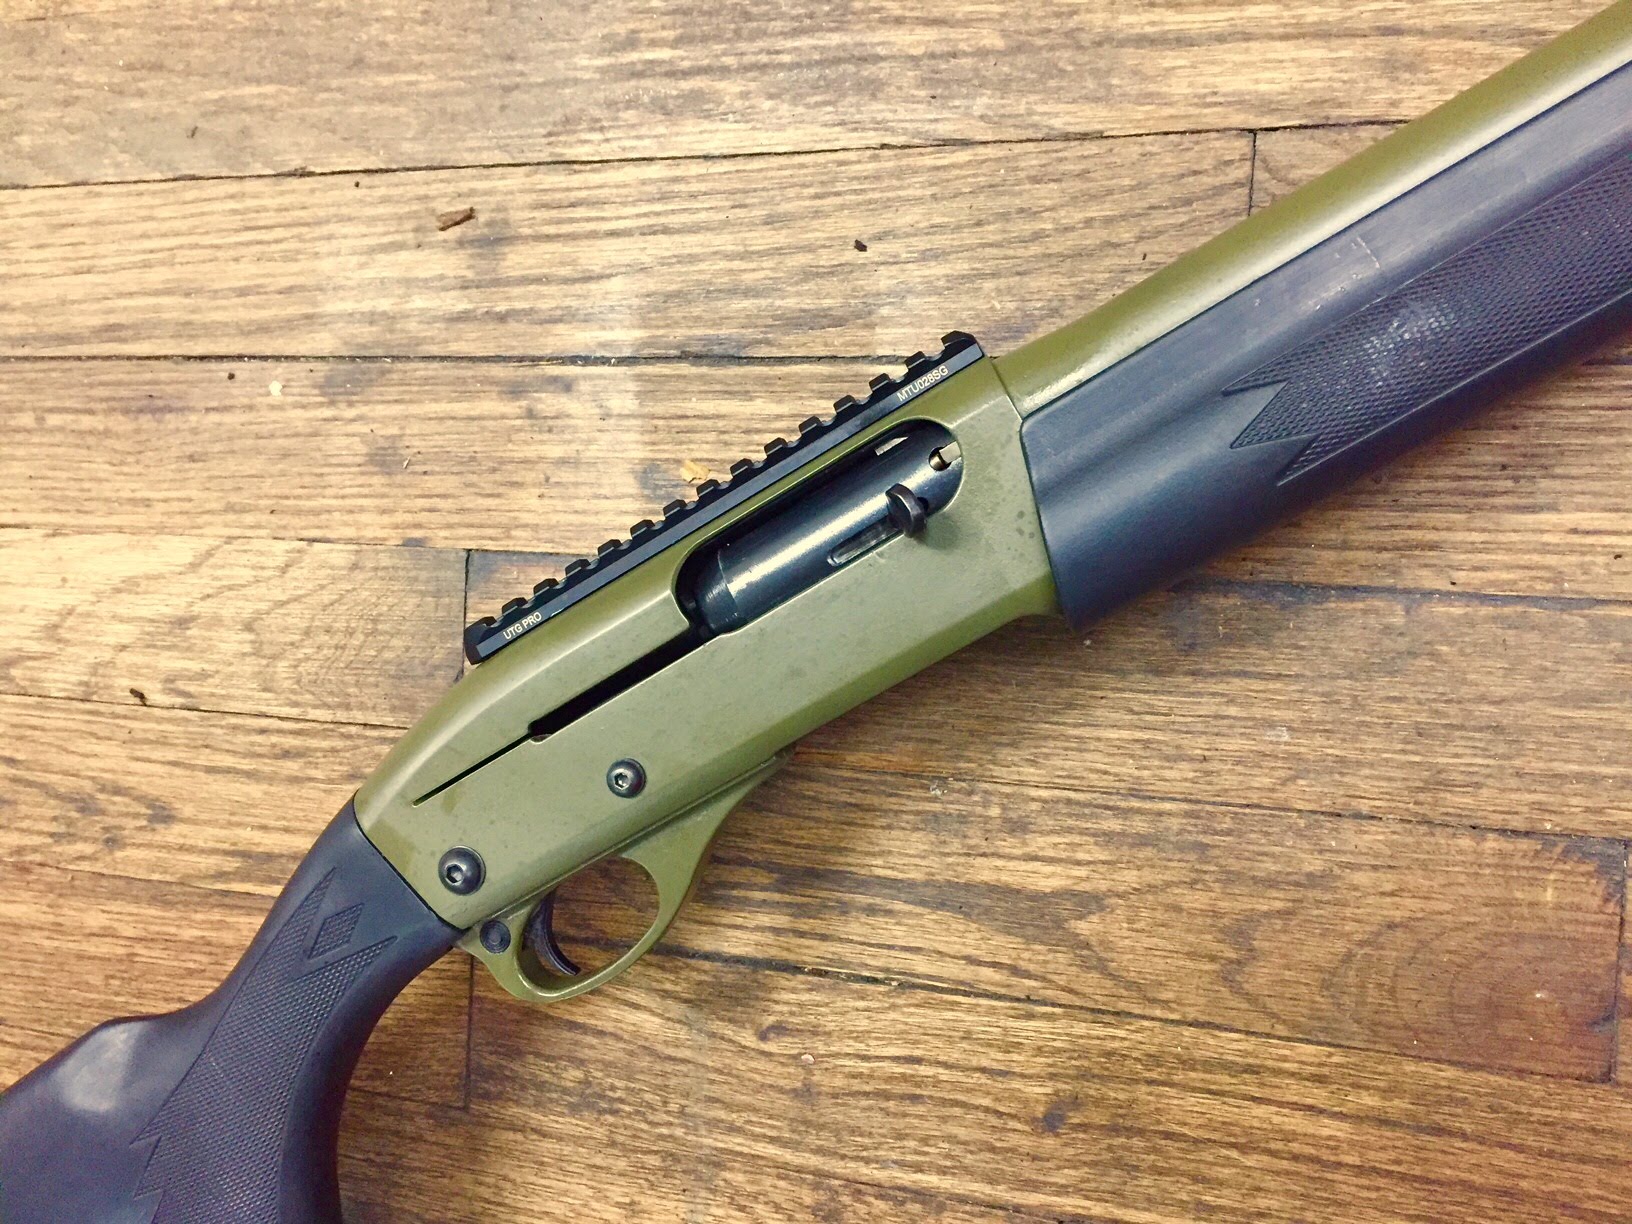
Example: Adding A Scope Rail To A Remington 870
Let’s look at a real-world example. The Remington 870 is one of the most popular pump shotguns, and many owners want to add a scope rail for optics.
- Most rails use a 6-48 screw size with a four-hole pattern.
- Receiver thickness averages 2.5mm at the top, so depth control is critical.
- Drill pilot holes, then enlarge to the correct size.
- Tap each hole with a 6-48 tap.
- Clean, test fit, and install the rail with a drop of thread locker.
This process takes about 45–60 minutes for someone with basic experience, but always take your time for best results.
Comparison: Hand Drill Vs. Drill Press
Choosing between a hand drill and a drill press can affect the outcome. Here’s a look at the differences:
| Feature | Hand Drill | Drill Press |
|---|---|---|
| Precision | Lower | High |
| Ease of Use | Easy to start, harder to keep straight | Requires setup, but keeps holes straight |
| Cost | Low | Higher |
| Recommended For | Small jobs, experienced users | Beginners, best results |
If you can access a drill press, even at a local workshop, it’s usually worth it for the added control and safety.
Drill And Tap Size Chart For Common Shotgun Mounts
Having the right sizes is critical. Here’s a quick reference for the most common screw sizes used in shotgun receivers:
| Screw Size | Drill Bit Size | Tap Size | Application |
|---|---|---|---|
| 6-48 | #31 (2.9mm) | 6-48 Tap | Scope mounts, rails |
| 8-40 | #28 (3.3mm) | 8-40 Tap | Heavy-duty rails |
| 10-32 | #21 (3.7mm) | 10-32 Tap | Specialty mounts |
Always match the drill and tap sizes exactly to the screws your accessory comes with.
Tips For A Professional Result
To get clean, reliable results:
- Use sharp, high-quality drill bits and taps. Dull tools can slip or produce ragged holes.
- Deburr the edges of each hole with a small file or deburring tool.
- Work slowly and check your progress often.
- Practice on scrap metal first if you’ve never drilled or tapped before.
- Keep the work area clean. Metal shavings can scratch or damage the finish if left on the receiver.
When To Seek Professional Help?
If you feel unsure at any step, it’s wise to consult a gunsmith. Some receivers are made from hardened steel, which is much tougher to drill and tap without special tools. Also, if your shotgun has historical or collector value, professional installation helps avoid lowering its worth.
Professional gunsmiths may charge $50–$100 for drilling and tapping, but they guarantee a precise, durable job.

Legal And Warranty Considerations
Drilling and tapping a receiver may void the manufacturer’s warranty. If your shotgun is still under warranty, check with the maker before making modifications. Also, some countries or states have laws about modifying firearms, so always stay informed.
Frequently Asked Questions
How Do I Know What Size Screws To Use?
Check the accessory instructions. Most scope mounts and rails for shotguns use 6-48 or 8-40 screws. If unsure, measure the screw or bring it to a hardware store for identification.
Can I Drill And Tap A Receiver Made Of Aluminum?
Yes, but be extra careful. Aluminum is softer than steel and can strip threads easily. Use sharp tools, go slowly, and avoid overtightening screws.
What If My Drill Bit Breaks Inside The Hole?
This is a common issue. Try using needle-nose pliers or a broken bit extractor. If you can’t remove it, a gunsmith can help. Never force the bit out, as this can damage the receiver.
Will Drilling And Tapping Reduce The Strength Of My Shotgun?
If done properly, adding small threaded holes for mounts will not weaken the receiver noticeably. Avoid drilling too many holes or placing them near thin or stressed areas.
Can I Do This Without A Drill Press?
Yes, but a drill press gives better control and accuracy. If you only have a hand drill, work slowly, use a center punch, and secure the receiver tightly for best results.
Lastly
Drilling and tapping a shotgun receiver is a skill that improves with practice and patience. By following the correct steps, using the right tools, and respecting the process, you can safely customize your shotgun for years of reliable use.
Leave a Reply