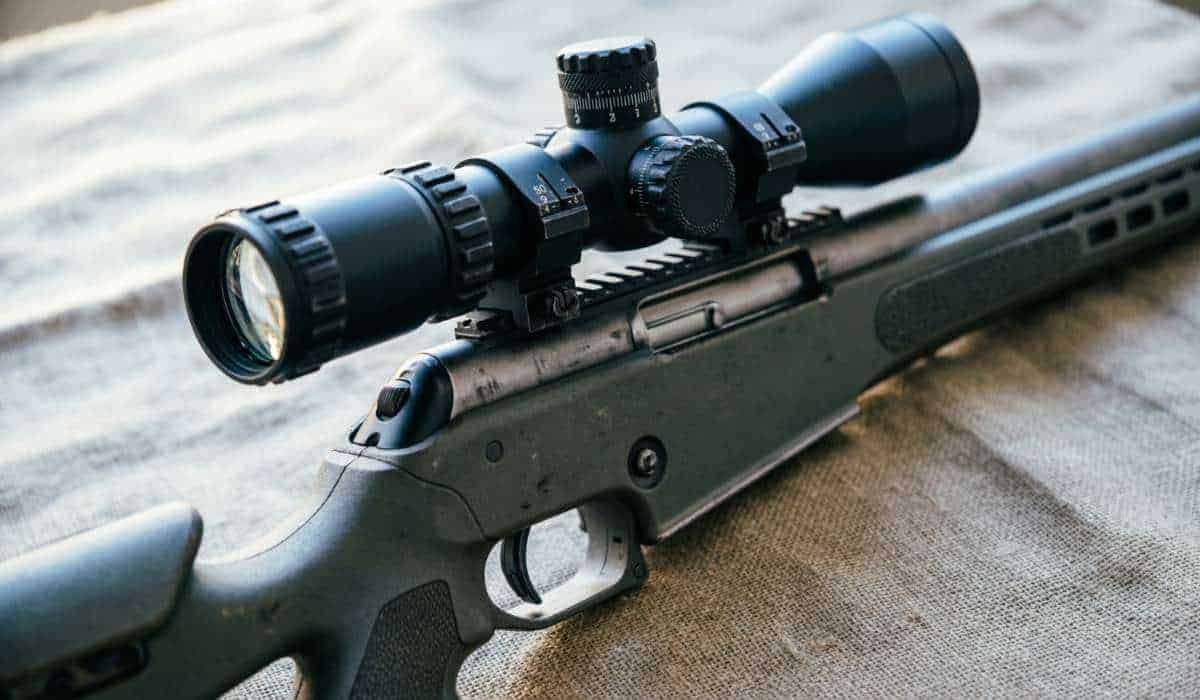
Mounting a rifle scope might look simple, but doing it right can make a huge difference in how well you shoot. A poorly mounted scope can ruin your accuracy, damage your equipment, and turn a fun day at the range into a frustrating experience.
Many beginners rush this process or skip important steps—leading to problems that could have been avoided. In this guide, you’ll learn exactly how to mount a rifle scope properly, with every step explained in clear, practical language.
Table of Contents
Why Proper Scope Mounting Matters?
A rifle scope is not just an accessory—it’s a precision tool. If a scope is not mounted securely, you might see your shots drifting off target, or you could even damage the scope when firing. Consistent accuracy starts with a solid mounting job. Even a scope worth thousands of dollars won’t help if it’s not installed correctly. Plus, a well-mounted scope protects your investment and can make cleaning and adjustments much easier.
Tools And Equipment You Need
Before you start, gather everything required. Missing tools can lead to rushed jobs or mistakes.
- Rifle (unloaded and safe)
- Scope
- Scope rings and base (match the scope and rifle)
- Torque wrench (inch-pound type)
- Gunsmith screwdriver set (prevents damage to screws)
- Bubble level (for leveling the scope)
- Degreaser or rubbing alcohol (for cleaning surfaces)
- Blue threadlocker (like Loctite, but not red/permanent type)
- Bore sighter (optional, but helps with alignment)
- Non-marring gun vise or rest
- Lint-free cloths
Many shooters skip items like a torque wrench or bubble level, thinking they’re unnecessary. But these tools help prevent common errors and make the job much easier.
Experts picks: What are the top-rated 11mm dovetail scope rings
Choosing The Right Rings And Base
Not all rings and bases fit all rifles or scopes. Getting this wrong is a frequent beginner mistake.
| Type | Pros | Cons | Compatibility |
|---|---|---|---|
| Weaver | Widely available, affordable | Some movement under heavy recoil | Most hunting rifles |
| Picatinny | Very secure, military standard | Heavier, bulkier | AR-15, tactical rifles |
| Dovetail | Lightweight, simple | Less robust, can slip | Small calibers, air rifles |
Key tip: Always match the ring diameter to your scope’s tube (most common: 1 inch or 30mm). The base must fit your rifle’s receiver. If unsure, check your rifle’s manual or consult the manufacturer.
Preparing Your Rifle And Scope
A clean surface ensures nothing slips or shifts later. Here’s how to prep:
- Unload your rifle and double-check it is safe.
- Remove oil and debris from the receiver, base, rings, and scope tube using a degreaser or rubbing alcohol.
- Inspect all parts for damage or manufacturing defects.
Skipping cleaning is a common mistake. Even small amounts of oil or dirt can cause the scope to slide during recoil.
Mounting The Base
The base is the foundation for your scope setup.
- Align the base with the holes in your rifle’s receiver.
- Insert screws, but do not tighten all the way.
- Apply a small amount of blue threadlocker to each screw—this helps prevent loosening from recoil.
- Tighten screws to the manufacturer’s recommended torque using a torque wrench. Do this in a crisscross pattern for even pressure.
Over-tightening can strip threads, while under-tightening lets things move. Both are bad for accuracy and safety.
Attaching The Rings
With the base mounted, you can add the rings.
- Attach lower ring halves to the base. Do not fully tighten yet.
- Check alignment by placing the scope in the rings and seeing if it sits flat. If not, some bases need lapping (smoothing the rings).
- Hand-tighten the screws just enough to hold the rings in place.
If the rings are not aligned, the scope tube can twist or get damaged. This is a subtle problem many beginners miss—leading to broken or misaligned scopes.
Placing And Leveling The Scope
This is where accuracy begins. Take your time with these steps.
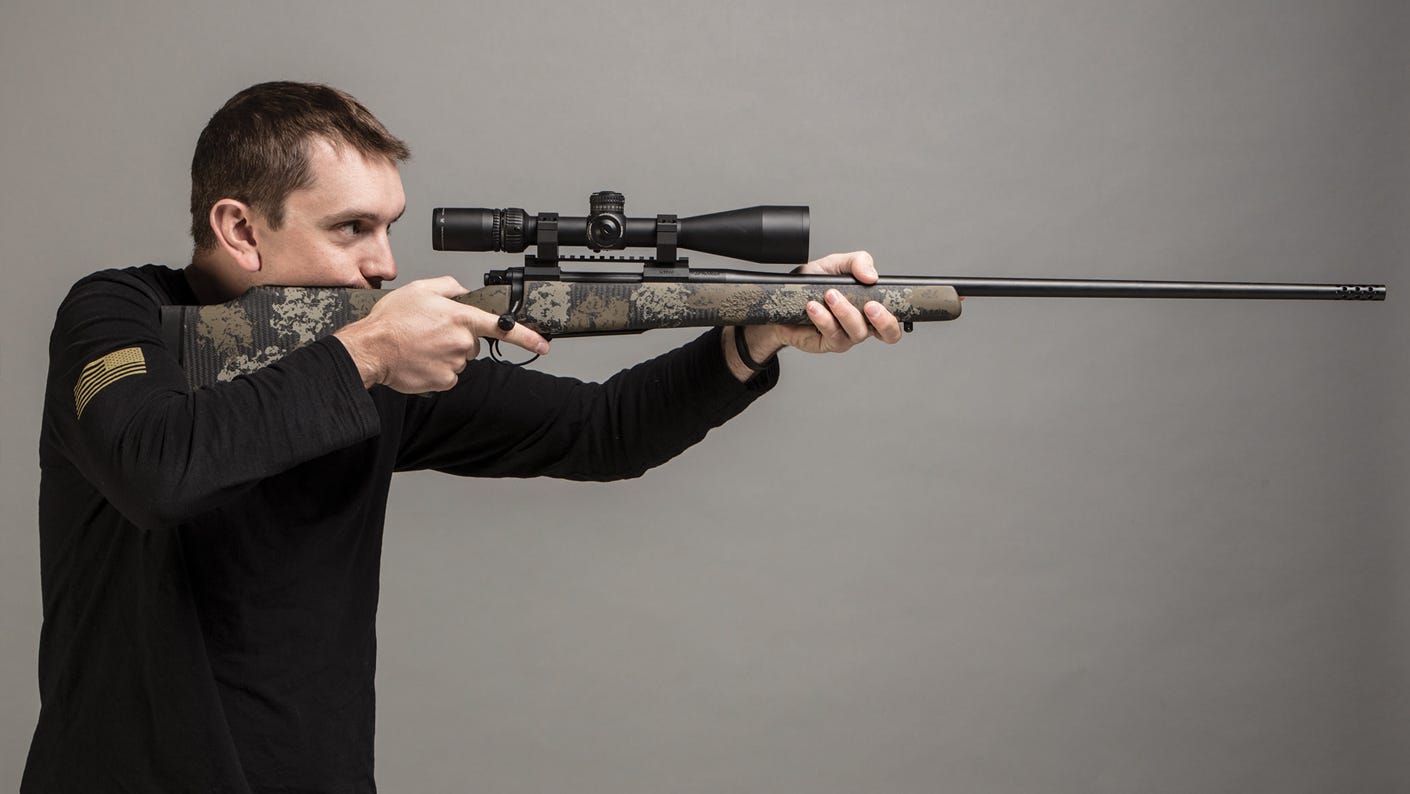
Setting Eye Relief
Eye relief is the distance from your eye to the scope’s lens where you see a full, clear image.
- Place the scope in the rings but do not tighten the top halves yet.
- Shoulder the rifle as you would in real shooting. Move the scope forward or backward until you see a full sight picture without a black ring (“scope shadow”).
- Mark the position lightly with a pencil or tape.
Incorrect eye relief can lead to “scope bite” (recoil hitting your face), or a limited field of view.
Leveling The Scope
A level scope means your crosshairs are truly horizontal and vertical. If not, your shots will drift, especially at longer distances.
- Set the rifle in a vise or rest so it’s level (use a bubble level on the receiver).
- Place a bubble level on the scope’s turret cap (the flat part).
- Rotate the scope until the bubble shows level, matching the rifle.
- Double-check from behind the rifle, looking through the scope.
Many shooters overlook leveling, thinking their eyes are “good enough. ” Even a slight tilt can throw off long-range shots.
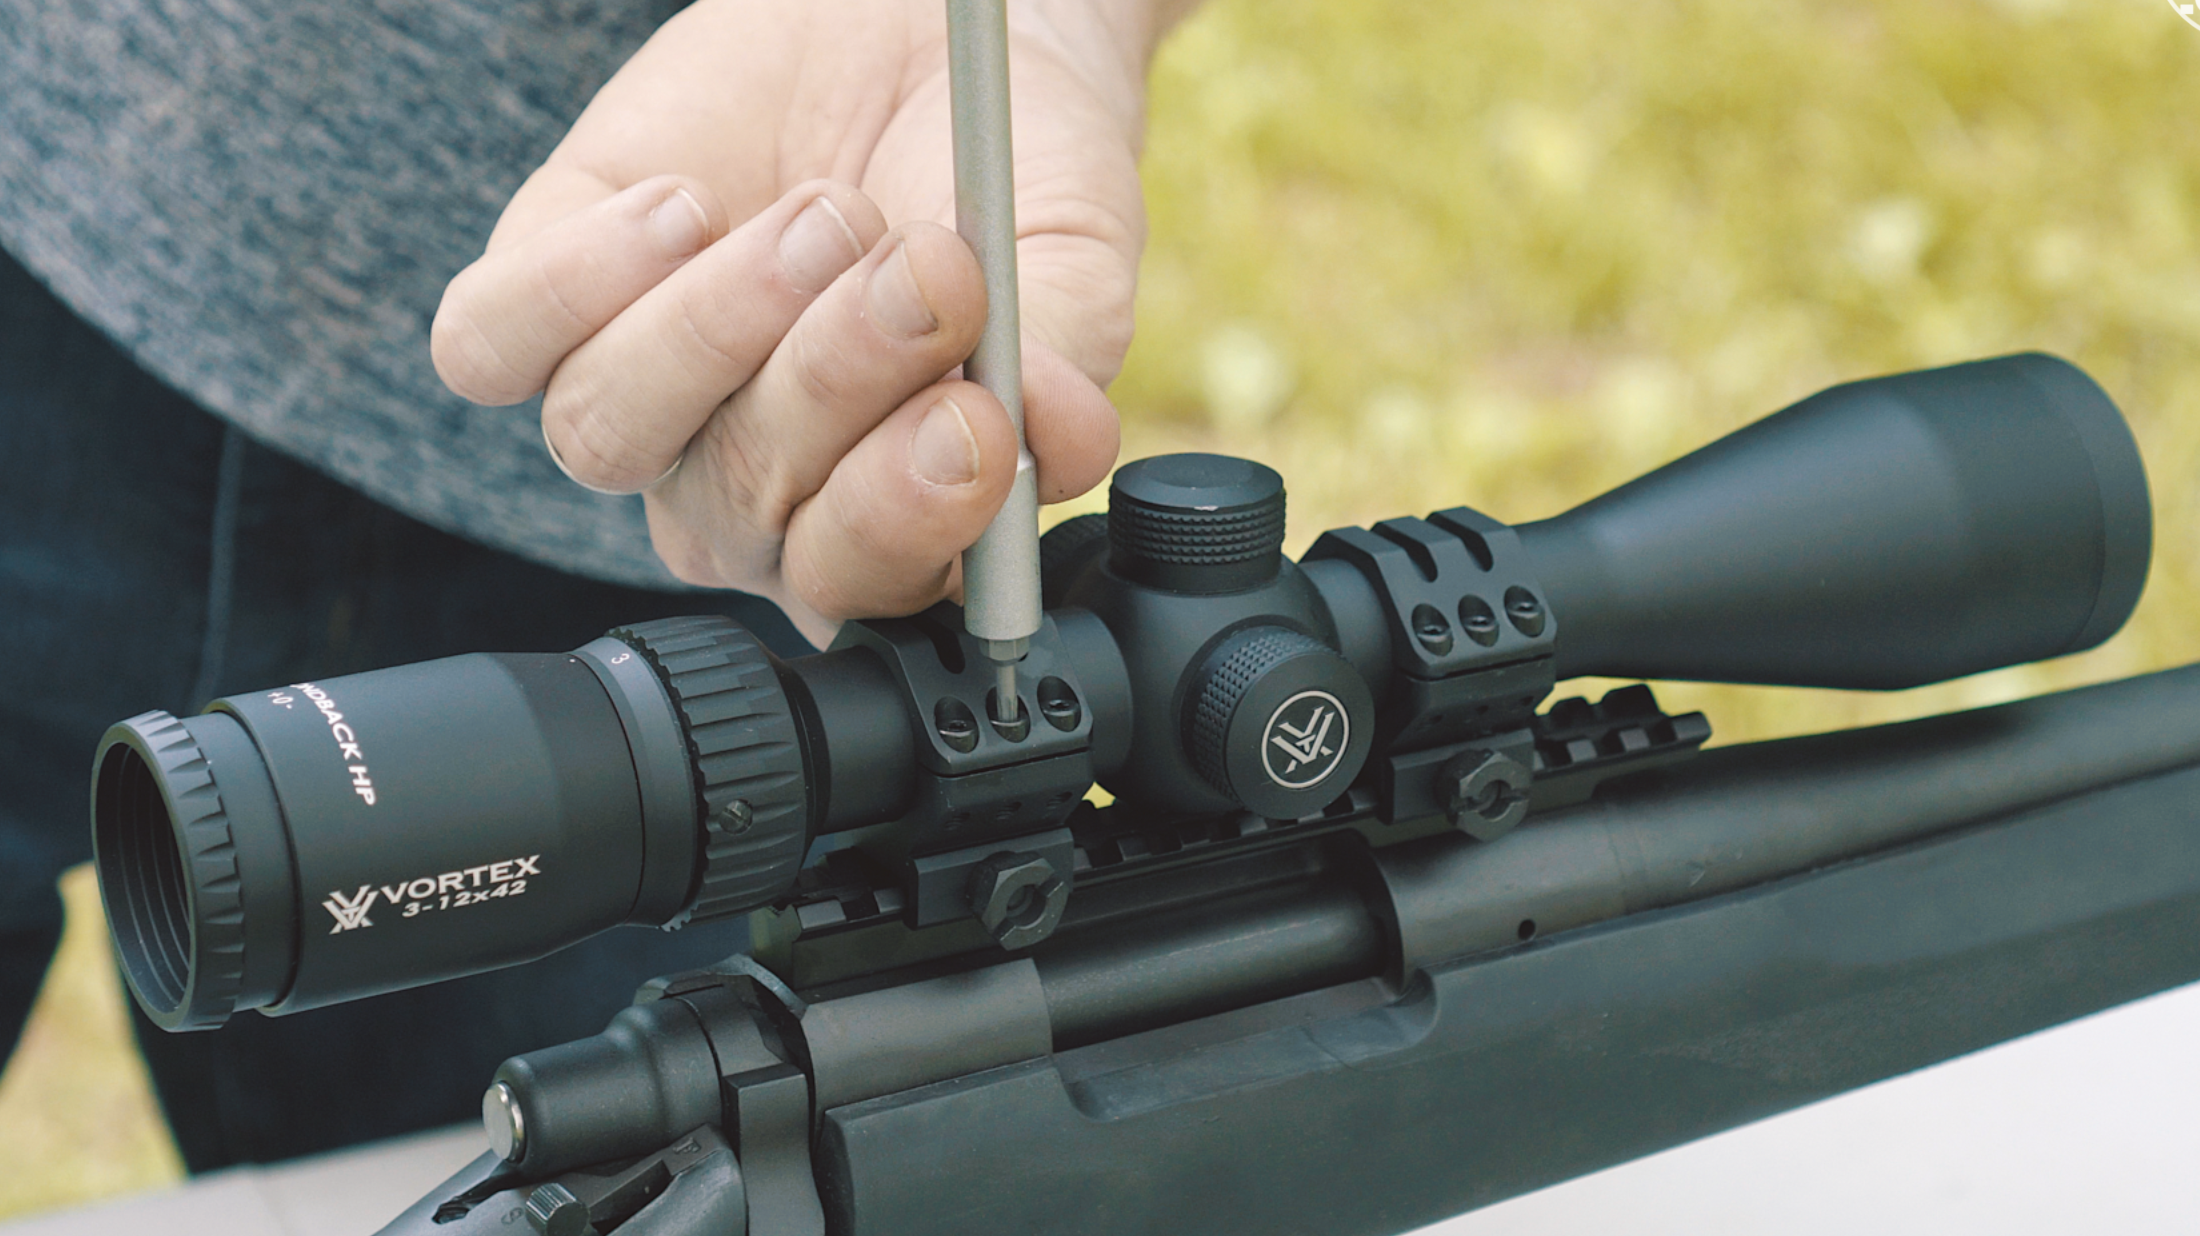
Securing The Rings
Now, lock everything in place.
- Install the top halves of the rings and tighten screws in small increments, alternating sides.
- Use a torque wrench to tighten to the manufacturer’s specification (usually 15–20 inch-pounds).
- Check eye relief and level again before fully tightening.
- Apply a tiny bit of blue threadlocker to each screw if recommended.
Over-tightening can crush the scope tube. Under-tightening lets the scope move under recoil.
Bore Sighting The Scope
Bore sighting helps align your scope with your barrel, saving time and ammo when zeroing later.
- Remove the bolt (for bolt-action rifles) so you can look down the barrel.
- Set the rifle solidly and look through the bore at a distant target.
- Adjust the scope so the crosshairs align with what you see through the barrel.
- Alternatively, use a bore sighter tool for faster, more precise alignment.
Bore sighting does not replace live fire zeroing, but it makes the first shots much closer to the target.
Final Checks Before Shooting
Before heading to the range, do these checks:
- Confirm all screws are tight but not overtightened.
- Check eye relief and scope level one last time.
- Clean off any excess oil or threadlocker.
- Look through the scope—is the image clear? Are the crosshairs perfectly vertical/horizontal?
- Test all turrets and focus knobs to make sure everything works smoothly.
Many shooters skip this last review, only to find problems on the range. Better to check now than waste ammo or damage your scope.
Common Mistakes To Avoid
- Skipping the torque wrench—leads to loose or stripped screws.
- Not cleaning surfaces before mounting—causes slippage.
- Ignoring scope level—produces angled shots.
- Wrong rings or base—can’t hold the scope securely.
- Rushing eye relief—leads to scope bite or poor sight picture.
- Using red threadlocker—makes removal almost impossible.
- Not double-checking everything before shooting.
Real-world Example: Mounting A Scope On A Hunting Rifle
Let’s say you have a Remington 700 bolt-action rifle and a 3-9x40mm scope.
- Choose Weaver-style bases and 1-inch rings to fit the scope tube.
- Degrease all surfaces.
- Mount the base, apply blue threadlocker, and torque to 25 inch-pounds.
- Attach lower ring halves, check alignment.
- Place the scope, adjust for eye relief, and level using a bubble level.
- Secure the top ring halves, torque to 18 inch-pounds.
- Bore sight using a laser tool.
- Final check: Shoulder the rifle, confirm everything is tight and level.
- Head to the range for live fire zeroing.
This step-by-step approach prevents problems and builds confidence in your gear.
Troubleshooting: What If Something Feels Off?
If you notice any of these, stop and fix before shooting:
- Scope won’t stay level: Rings or base may be misaligned.
- Screws won’t tighten: Threads may be stripped.
- Scope image is blurry: Re-check focus and objective lens, or possible mounting damage.
- Scope moves under recoil: Rings are too loose or wrong size.
Fixing these issues early prevents equipment damage and helps you shoot safely.
How to properly focus a rifle scope for precise shooting
Comparing Popular Scope Mounting Systems
Here’s how a few common mounting systems compare:
| System | Ease of Use | Strength | Best Use Case |
|---|---|---|---|
| Weaver | Easy | Medium | Hunting, general use |
| Picatinny | Moderate | High | Tactical, competition |
| Integrated (proprietary) | Easy | High | Brand-specific, factory rifles |
Choose a system that fits your rifle and matches your shooting needs.

Extra Tips For Long-term Success
- Re-check scope screws after your first shooting session. Sometimes, things settle after recoil.
- Record your torque settings for future reference.
- Store tools with your shooting gear, so you’re always prepared.
- If you change your scope, repeat the entire mounting process—don’t take shortcuts.
Frequently Asked Questions
How Tight Should Scope Ring Screws Be?
Scope ring screws should be tightened to the manufacturer’s specification, usually 15–20 inch-pounds. Use a torque wrench to avoid over-tightening or stripping the screws.
Can I Mount A Rifle Scope Without A Bubble Level?
You can, but it’s risky. A bubble level ensures your scope is perfectly aligned with the rifle. Eye-balling it is less accurate and can cause problems, especially at long range.
Is Bore Sighting Necessary?
Bore sighting is not required, but it’s very helpful. It saves time and ammunition when zeroing your scope for the first time.
What If My Scope Keeps Moving After Mounting?
This usually means the rings are too loose or not the correct size for your scope. Double-check your ring diameter and torque settings. Clean all surfaces and try again.
Where Can I Find More Detailed Mounting Guides?
A good resource for further reading is the National Rifle Association website, which provides in-depth tutorials and safety information.
Finally
Mounting a rifle scope properly takes patience and attention to detail, but the results are worth it. With the right tools and steps, you’ll have a solid, reliable setup that boosts your shooting accuracy and confidence. Take your time and double-check each step—your target will thank you.
Leave a Reply